How to Seal Tile Grout: Step-by-Step Guide
How to seal tile grout comes down to four things done in order: make sure the grout is clean and fully dry, apply a penetrating sealer along the grout lines, wipe any sealer haze off the tile faces within 5 to 10 minutes, then allow 24 to 48 hours to cure before heavy use or water exposure. Sealing helps grout resist stains and moisture, but it does not make grout stainproof or replace regular cleaning.
This guide stays focused on sealing and resealing grout after it has been cleaned. For removing dirt and marks first, see the separate cleaning guide linked below. Tile installation and re-grouting are different jobs and are only touched on here where they affect whether sealing is worth doing.
The water drop test shows whether grout needs sealing
Before sealing anything, test whether the grout actually needs it. The water drop test is quick and tells you if the grout is still porous.
- Drip a few drops of water onto a clean, dry section of grout
- Watch for 1 to 2 minutes
- If the water soaks in and the grout darkens, the grout is porous and would benefit from sealing or resealing
- If the water beads on the surface and sits there, the existing sealer is still working and resealing can wait
Test a few spots, since grout can wear unevenly. High-traffic floor areas and shower corners often lose their seal before quieter sections, so check those first when deciding how to reseal grout on a tile floor or in a shower.
Penetrating sealers suit most floor and shower grout in Australia
There are two broad types of grout sealer, and the choice matters more than the brand. For most Australian homes, a penetrating sealer is the safer default for both floor and shower grout.
- Penetrating (impregnating) sealer: soaks into the grout and works from within, leaving the surface looking natural. It lets the grout breathe, which suits wet areas and floors because trapped moisture is less of a problem. This is the usual choice for how to seal grout in a shower and how to seal grout on a tile floor.
- Topical (membrane) sealer: sits on top as a thin film. It can look glossy at first but tends to wear, peel or trap moisture in showers and busy floors, and it is less forgiving over time.
The table below compares the two at a glance.
| Feature | Penetrating (impregnating) sealer | Topical (membrane) sealer |
|---|---|---|
| How it works | Soaks into the grout and protects from within | Sits on top as a thin surface film |
| Appearance | Natural, no added sheen | Can look glossy at first |
| Lets grout breathe | Yes, moisture can escape | No, can trap moisture |
| Floor traffic | Handles traffic well, wears evenly | Film can scuff, peel or wear in patches |
| Shower and wet areas | Well suited, lower moisture-trapping risk | Higher risk of peeling and trapped water |
| Best use | Most floor and shower grout in Australia | Limited cases, usually not wet areas |
Penetrating sealers are generally preferred for floor and shower grout because they handle traffic and constant moisture better and are less likely to trap water against the grout. Always follow the product label, as formulas and dwell times vary.
Step-by-step: how to seal tile and grout
Sealing is straightforward once the surface is properly prepared. The single most important rule is that grout must be clean and completely dry first. Follow these five steps in order.
- Step 1: Clean and dry the grout completely. Seal only clean, dry grout, as any dirt, soap residue or moisture left in the lines will be locked in by the sealer. Clean the grout thoroughly first (see the guide on cleaning tile grout thoroughly beforehand), then let it dry fully. A rough guide is 24 hours of drying after cleaning, and longer in a shower or a humid room.
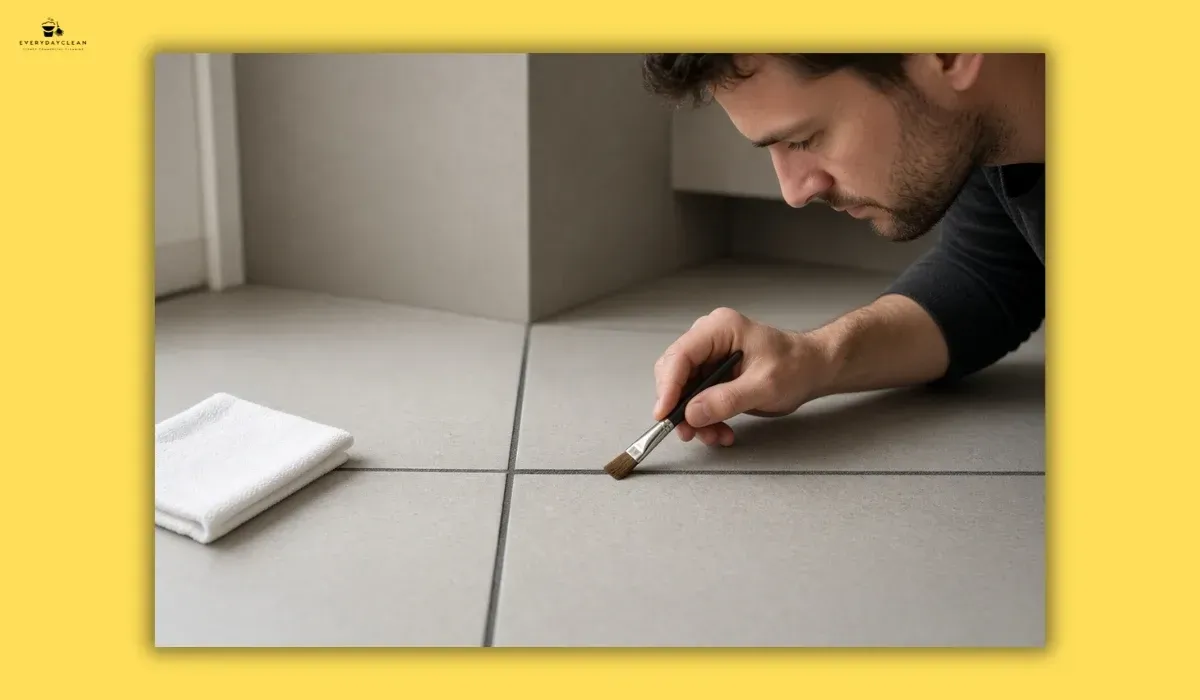
- Step 2: Select your application tools. Use an applicator bottle with a roller or wheel tip to run sealer neatly along the grout line with little on the tile, a small foam brush or sealer brush for edges and corners, clean dry cloths or paper towel for wiping excess, and gloves with good ventilation as per the product label.
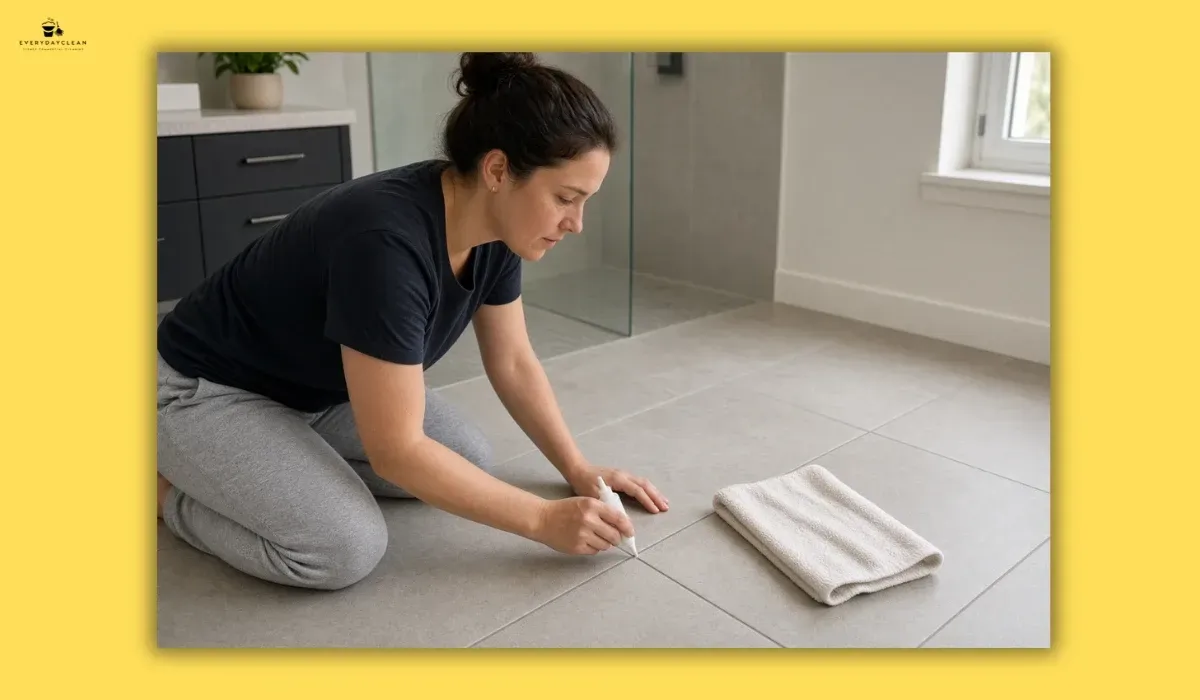
- Step 3: Apply the penetrating sealer along the grout lines. Work in small sections so you can wipe before the sealer dries. Run the applicator or brush along the grout line, coating it evenly without flooding the tile. Many penetrating sealers need a short dwell time and sometimes a second coat on very porous grout, so check the label.
- Step 4: Wipe sealer haze off tile faces immediately. This step is where most problems start. Within about 5 to 10 minutes, wipe any sealer off the tile faces with a clean, dry cloth before it dries. Sealer left to cure on tile, especially polished or glazed tile, can leave a dull haze that is hard to remove later. Keep checking the tiles as you go.
- Step 5: Allow 24 to 48 hours to cure fully. Let the sealer cure before normal use. A common range is 24 to 48 hours, with water exposure kept off showers for the full period. Rushing this is a common cause of a weak or patchy seal.
Sealing floor grout and shower grout have different demands
Floor grout and shower grout both benefit from sealing, but for different reasons, and the timing differs.
- Floor tile grout: the priority is traffic and dirt resistance. Grout lines on floors collect grit and foot traffic, so sealing helps them resist staining and makes routine cleaning easier. Knowing how to reseal grout on a tile floor keeps high-traffic areas protected as the seal wears.
- Shower grout: the priority is constant moisture. Shower grout stays damp far longer, so it must be dried for an extended period before sealing, and then left 24 to 48 hours before any water exposure. Sealing supports moisture resistance, but it works alongside ventilation and drying habits, not instead of them. Pairing a good seal with reducing bathroom moisture gives grout the best chance in a wet room.
Coloured and black grout need a residue-free, tested approach
Coloured and black grout show sealing mistakes more clearly than plain grey, so a little extra care pays off.
- Leave zero cleaning residue before sealing. Any leftover cleaner or soap film can react or show as patchiness once sealed. When learning how to clean black coloured grout before sealing, rinse well and let it dry so no film remains.
- Test on an inconspicuous corner first. Some sealers slightly deepen or shift the tone of coloured grout, so check a hidden spot and let it dry before doing the whole area.
- Avoid white residue buildup. Wipe carefully and do not over-apply, as dried sealer or cleaner residue can leave pale streaks that stand out badly on dark grout.
Common sealing mistakes are easy to avoid
Most sealing failures come from a handful of avoidable errors. Watch for these.
- Sealing damp grout: this traps moisture inside the grout and can lead to a cloudy finish or lingering dampness. Always dry fully first.
- Letting sealer dry on tile: sealer left to cure on polished or glazed tile faces can leave a stubborn haze. Wipe within 5 to 10 minutes.
- Using harsh acidic cleaners afterwards: strong acids can break down the sealer and, on natural stone, damage the tile itself. Stick to gentle, grout-safe cleaning once sealed.
- Rushing the cure: using the floor or shower too soon weakens the seal before it has set.
When to seal, and when to regrout or call a professional
Sealing only helps grout that is sound. It cannot fix grout that has failed.
- Seal when the grout is intact, clean and porous (the water drop test soaks in). Sealing is a maintenance step that protects good grout.
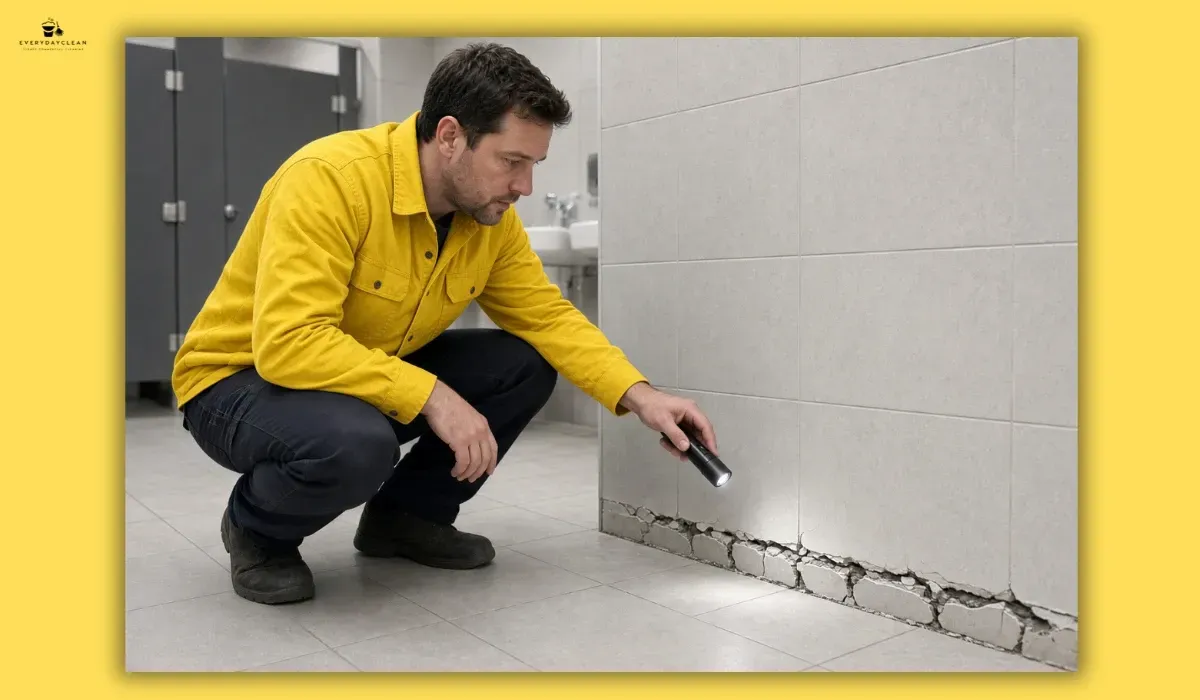
- Regrout or repair first when grout is cracked, crumbling or missing. Sealer cannot rebuild damaged grout, and sealing over gaps just hides a problem that will let water through.
- Consider professional help for large commercial facilities, extensive tiled areas, natural stone, or when you are unsure whether grout needs sealing or replacing. A professional commercial cleaning services provider can assess and handle larger or higher-risk areas, though no seal guarantees a permanently stainproof result.
How to seal tile grout: common questions
How do you know if grout needs sealing?
Use the water drop test. Place a few drops of water on clean, dry grout and wait 1 to 2 minutes. If the water soaks in and the grout darkens, it is porous and should be sealed or resealed. If the water beads on top, the existing seal is still working. Test several spots, as grout wears unevenly.
How long should grout dry before sealing?
Grout should be completely dry before sealing. After cleaning, allow around 24 hours of drying for most areas, and longer in showers or humid rooms. Sealing damp grout traps moisture and can leave a cloudy finish. If in doubt, wait longer and confirm the surface feels and looks fully dry first.
How long does grout sealer take to cure?
Most penetrating sealers need 24 to 48 hours to cure before heavy use or water exposure, though exact times vary by product. In showers, keep water off the grout for the full period. Always follow the label, as a rushed cure is a common cause of a weak or patchy seal.
Can you seal coloured or black grout?
Yes, but make sure no cleaning residue is left, as film can show through once sealed. Test the sealer on an inconspicuous corner first, since some products slightly deepen the tone of coloured grout. Wipe carefully and avoid over-applying, as dried residue can leave pale streaks that stand out on dark grout.
Does sealing grout stop all stains and mould?
No. Sealing helps grout resist stains and moisture and makes cleaning easier, but it does not make grout stainproof or stop mould on its own. In wet areas it works alongside ventilation, drying and regular cleaning. Spills should still be wiped promptly rather than left to sit on sealed grout.
Keep grout protected with routine resealing and testing
Sealing is not a one-off job. Grout sealer wears with traffic, moisture and cleaning, so the seal needs checking and refreshing over time rather than being left and forgotten.
A practical routine is to run the water drop test every 6 to 12 months, sooner in high-traffic floors and showers, and reseal whenever water starts soaking in rather than beading. Pair that with gentle, grout-safe cleaning and good drying habits, and sealed grout stays easier to maintain and better protected against everyday stains and moisture.
About Everyday Clean
Everyday Clean is a Sydney-based cleaning company supporting homes and businesses with commercial, office, strata, medical, childcare and general cleaning. Its guides are written to help Australian readers make practical cleaning and maintenance decisions.
Blog