How to Get Rid of Mould in the Shower
Small areas of shower mould can often be cleaned by ventilating the room, wearing protective equipment, applying a suitable cleaner, letting it dwell for the time on the label, gently scrubbing or wiping, rinsing, and drying the surface fully. Fixing the moisture that caused it is what stops it returning. Showers grow mould because they stay warm and damp with limited airflow, so cleaning is only half the job, and airflow, drying and sealing are the other half.
This guide covers removing mould from grout, silicone and shower surfaces, and keeping it from coming back. For general safety guidance on larger or more serious growth, there is a separate walkthrough on safe black mould removal. Anyone with asthma, allergies or respiratory sensitivity should take extra care, and health concerns are best raised with a professional.
The short version:
- Ventilate the room and wear gloves, eye protection and a suitable mask before cleaning
- Apply a suitable cleaner and let it dwell for the time stated on the product label
- Treat grout and silicone differently, since both are porous or absorbent in their own way
- Reseal silicone that is cracked, lifting or stained through rather than scrubbing it further
- Fix moisture and airflow after cleaning, or the mould will keep returning
Before You Start: Ventilation and Protection
Cleaning mould can release spores into the air, so airflow and protection come first. Open the window, run the exhaust fan, and wear gloves, eye protection and a suitable mask. Keep the area ventilated while you clean and while surfaces dry.
Whatever product you use, follow the label directions and never mix cleaning chemicals. Combinations such as bleach and ammonia-based products can create hazardous fumes, and no stubborn patch of mould is worth that risk. Bleach and vinegar are both commonly used on bathroom mould, but neither should be treated as a permanent fix, since mould returns wherever moisture remains.
Removing Mould From Shower Grout
Grout is porous, so mould can sit both on the surface and slightly within it. Clean the surface growth first and judge how deep it goes.
Apply a suitable cleaner to the grout lines, let it dwell for the time stated on the label, then work the lines gently with a soft brush before rinsing and drying. Surface mould often lifts with this approach. Where staining remains after cleaning, the discolouration may be within the grout itself rather than active mould on top, and deeper cleaning or regrouting is sometimes needed. Cracked or crumbling grout is a common re-entry point for moisture, so damaged grout is worth repairing rather than just cleaning.
Removing Mould From Shower Silicone
Silicone seals are where shower mould is most stubborn, because mould can grow into the silicone rather than just on it. Clean the surface first with a suitable product, letting it dwell and then wiping gently.
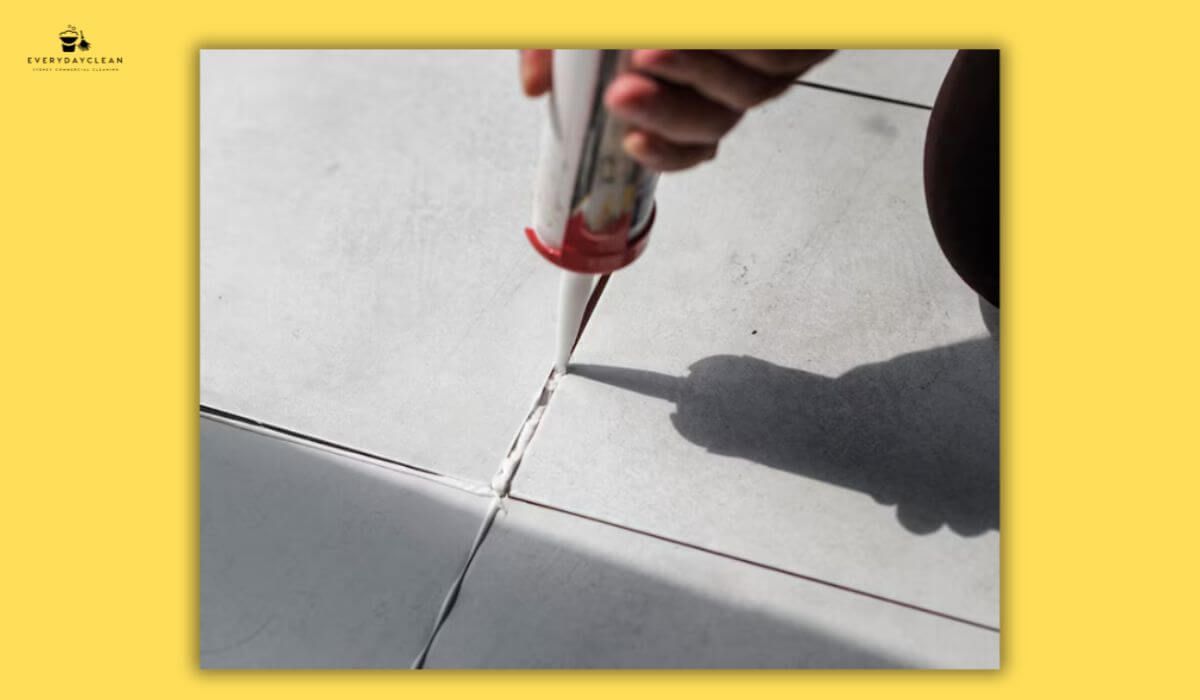
Surface mould on intact silicone can often be reduced with cleaning. Once mould has grown into the silicone and left it stained beneath the surface, cleaning may lighten it but often will not fully remove it. In that case the more reliable fix is to remove the old silicone and reseal, since deeply embedded staining in perished silicone rarely cleans out completely. Damaged or lifting silicone should be replaced regardless, because gaps behind it trap moisture and feed regrowth.
When Mould Cannot Be Fully Removed From Silicone
If silicone stays stained after careful cleaning, or the silicone is cracked, lifting or perished, resealing is usually the better path than repeated scrubbing. Trying to force out embedded staining with harsh scrubbing or stronger chemicals tends to damage the seal without restoring it. Fresh silicone, applied to a clean, dry surface, gives a better and longer-lasting result than persisting with a seal that is already compromised.
Cleaning Tiles and Glass Screens
Tiles and glass are non-porous, which makes them the easiest shower surfaces to deal with. Mould and soap scum sit on the surface rather than growing in, so they usually wipe away with a suitable cleaner and a soft cloth or sponge.
The table below summarises how the main shower surfaces differ, since the same approach does not suit all of them.
| Surface | How mould behaves | Practical approach |
|---|---|---|
| Grout | Porous, can hold mould within the lines | Clean, dwell, soft-brush, rinse, dry; repair cracked grout |
| Silicone | Mould can grow into the seal | Clean surface mould; reseal if staining is embedded or silicone is damaged |
| Tiles | Non-porous, surface only | Wipe with a suitable cleaner and soft cloth |
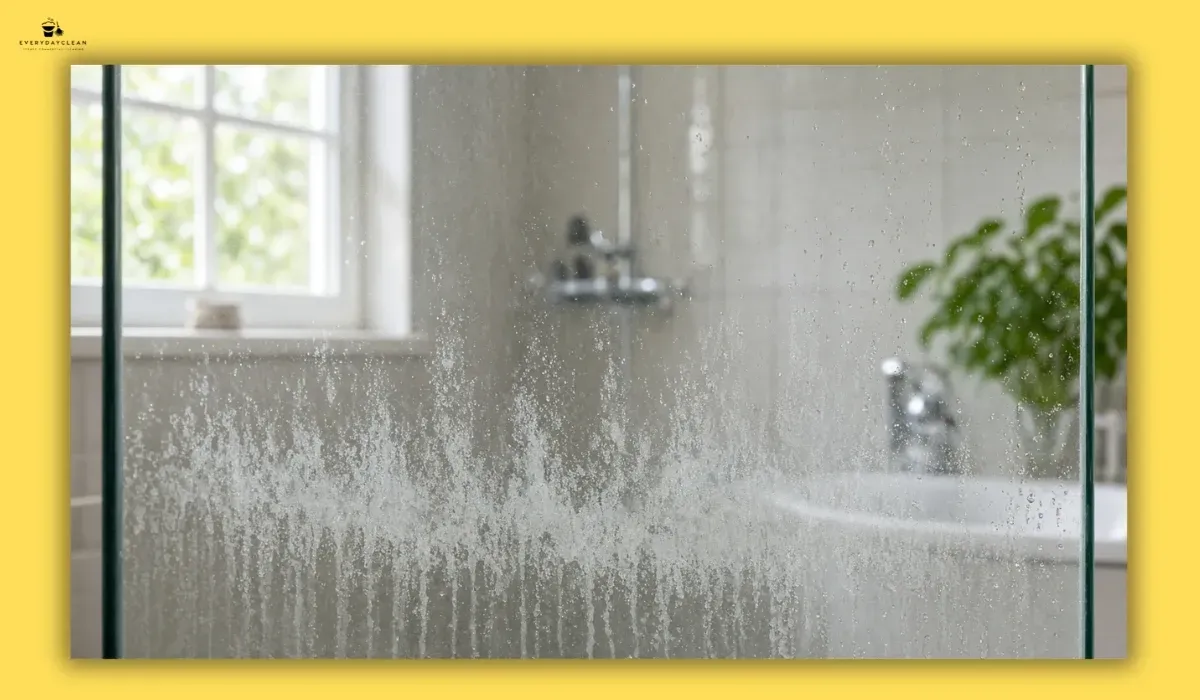
| Glass screens | Non-porous, holds scum and film | Clean, rinse and squeegee or wipe dry to prevent buildup |
Keeping glass screens wiped or squeegeed dry after showers does more to prevent buildup than any single deep clean.
Preventing Shower Mould After Cleaning
Cleaning without changing the conditions usually means the mould comes back. Mould needs moisture, so reducing moisture and improving airflow is the real prevention.
- Ventilate: run the exhaust fan during and after showers, and open a window where possible
- Dry surfaces: squeegee or wipe the screen, walls and any pooling water after use
- Keep air moving: leave the shower door or curtain open to dry between uses
- Maintain seals: repair cracked grout and replace damaged silicone promptly
- Reduce standing water: clear anything that traps water against surfaces
- Clean regularly: light, regular cleaning stops mould establishing in the first place
If mould keeps returning to the same spot despite this, there may be an unresolved moisture or ventilation problem, or a leak, that needs investigating rather than more cleaning.
Shower Mould Safety Cautions
A few situations call for more care or a change of approach. Recognising them avoids making a problem worse.
- Never mix cleaning chemicals, as some combinations produce hazardous fumes
- Clean only with adequate ventilation, and stop if fumes build up
- Do not keep scrubbing damaged silicone or cracked grout; repair or reseal instead
- Treat recurring mould as a moisture problem to investigate, not just a cleaning task
- Large or widespread growth is beyond a routine shower clean and needs assessment
- Take extra care if anyone in the home has asthma, allergies or respiratory sensitivity
- For larger commercial or shared bathrooms, coordinated cleaning support for shared facilities may be more practical than piecemeal cleaning, alongside any repairs
Frequently Asked Questions About Shower Mould
How do you get rid of mould in the shower?
Ventilate the room, wear protective equipment, apply a suitable cleaner to the affected area, and let it dwell for the time on the label. Gently scrub or wipe, rinse, then dry the surface fully. Fixing the moisture source through airflow and drying is what stops it returning, since cleaning alone does not prevent regrowth.
How do you remove mould from shower silicone?
Clean surface mould with a suitable product, letting it dwell and wiping gently. Mould on intact silicone can often be reduced this way, but once it has grown into the silicone and stained beneath the surface, cleaning may not fully remove it. In that case, removing the old silicone and resealing is usually more reliable than repeated scrubbing.
Does bleach or vinegar permanently kill shower mould?
Neither should be relied on as a permanent fix. Both are commonly used on bathroom mould, but mould returns wherever moisture remains, so surface treatment alone does not keep it away. Follow the product label, never mix chemicals, and focus on ventilation, drying and seal maintenance to prevent regrowth rather than expecting any single product to solve it.
Why does mould keep coming back in my shower?
Recurring shower mould almost always means the moisture and airflow conditions have not changed. Showers stay warm and damp, so without good ventilation and drying, mould re-establishes no matter how often it is cleaned. Cracked grout, damaged silicone or a hidden leak can also feed regrowth, so persistent mould is worth investigating rather than just recleaning.
When should you reseal instead of cleaning shower silicone?
Reseal when the silicone is cracked, lifting or perished, or when staining remains embedded after careful cleaning. Compromised silicone traps moisture behind it and keeps feeding mould, so cleaning alone will not fix it. Fresh silicone applied to a clean, dry surface gives a longer-lasting result than continuing to scrub a seal that is already damaged.
Keep Shower Mould From Coming Back
Getting rid of shower mould is really two jobs: cleaning the grout, silicone and surfaces with a suitable product and gentle method, and then changing the conditions so it does not return. Drying surfaces after each shower, keeping air moving through the exhaust fan and an open door or window, and maintaining grout and silicone are what keep mould from re-establishing. Where silicone is stained through or grout is cracked, resealing and repair do more than repeated cleaning, and any mould that keeps returning is a sign the underlying moisture needs attention.
Blog