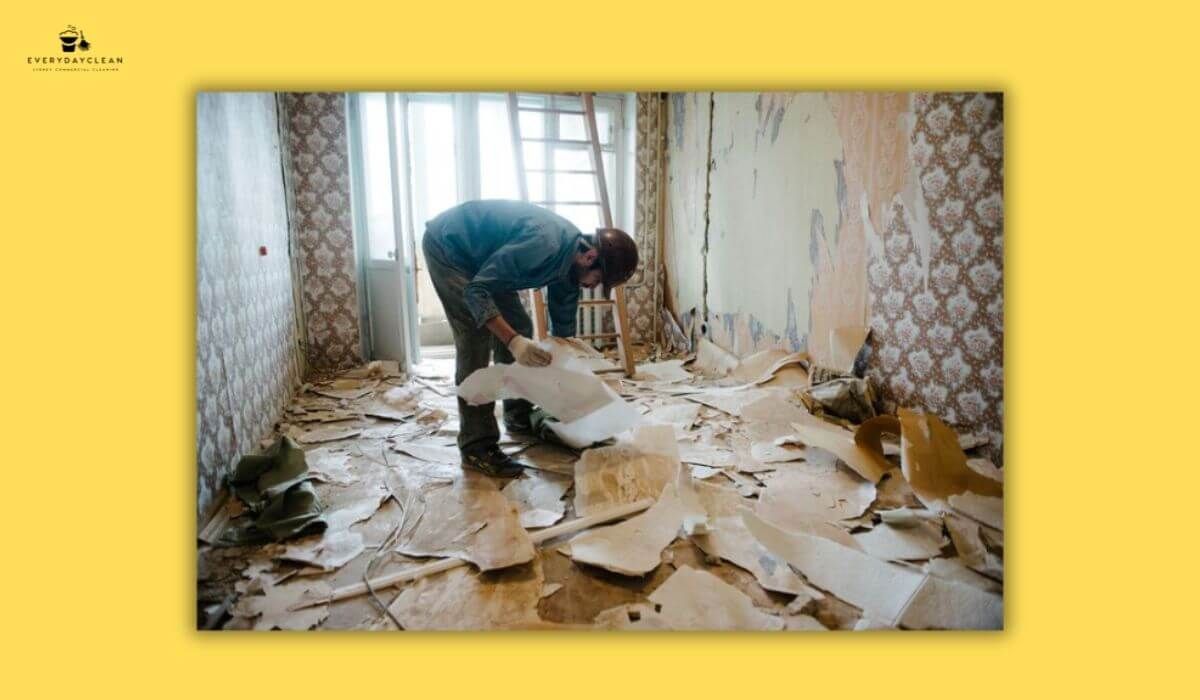
Post-Renovation Cleaning Checklist: Steps After Construction
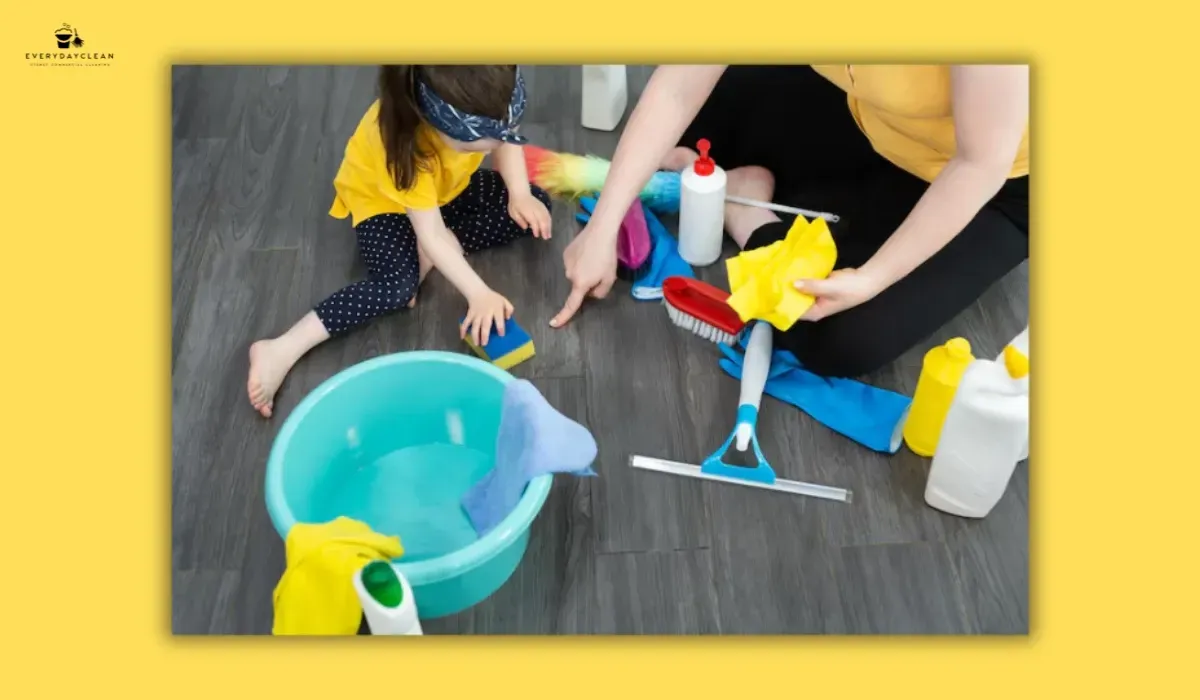
A post-renovation cleaning checklist includes removing large debris, vacuuming fine dust with a HEPA filter, wiping fixtures and windows, and mopping floors with neutral solutions. It also covers room-specific tasks such as degreasing kitchen cabinets, scrubbing bathroom grout, dusting skirting boards in living areas, and sweeping entryways. These steps ensure every surface is free from drywall dust, paint splatters, and adhesive residue, leaving the property spotless, safe, and ready for use. This guide explains how to clean after renovation with essential supplies, a step-by-step process, and detailed after-construction cleaning tips for each area of the home.
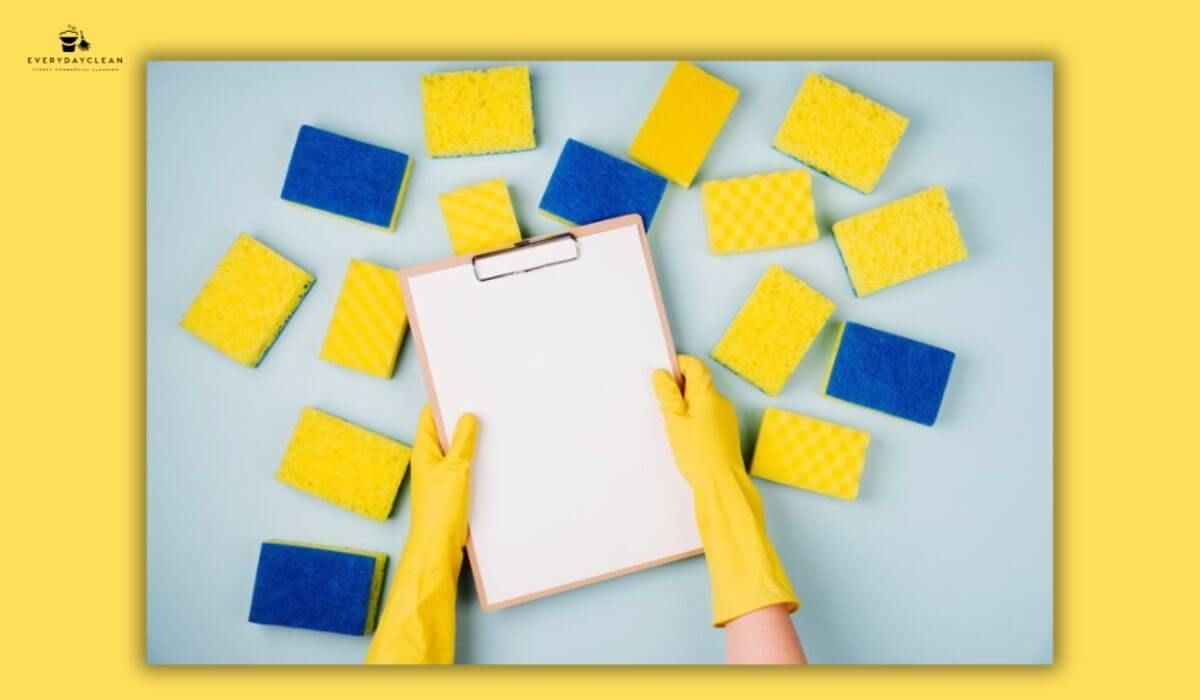
Essential Supplies for Post-Renovation Cleaning
Before starting, prepare the right tools. Using the wrong equipment can damage new finishes or worsen dust problems.
Supplies checklist:
- Heavy-duty garbage bags and protective gloves
- Microfibre cloths and mop pads for capturing fine dust
- HEPA vacuum (essential for drywall and sanding dust)
- Neutral, non-abrasive cleaners and degreasers
- Ladder, scraper, and plastic sheeting for dust control
- Buckets, neutral floor solution, and soft-bristle brushes
Having these on hand makes the process efficient and compliant with safety standards.
Step-by-Step Post-Renovation Cleaning Checklist
Renovation cleaning should always follow a sequence. Cleaning out of order risks dust resettling on freshly cleaned areas.
Steps to clean after renovation:
- Remove Large Debris First
Collect screws, offcuts, cardboard, and packaging. Dispose of hazardous items in heavy-duty bags. - Dust From Top to Bottom
Start with ceilings, light fittings, vents, and walls. Work downward to skirting boards and floors. - Clean Light Fixtures, Windows, and Switches
Dust settles in hidden spots like switch covers and window frames. Use gentle products to protect new surfaces. - Vacuum With HEPA Filter
Standard vacuums blow fine dust back into the air. A HEPA vacuum traps microscopic particles safely. - Wet Mop Floors With Neutral Solution
Mop using a soft, non-abrasive cleaner. Use surface-appropriate products for wood, vinyl, or tiles.
Room-by-Room Post-Renovation Cleaning Checklist
Each room requires targeted cleaning. Below is a detailed breakdown of why each step matters.
Kitchen
- Wipe appliances and shelves: Renovation dust collects inside ovens, microwaves, and cabinets.
- Degrease cabinets and counters: Adhesives or dust often stick to flat surfaces.
- Mop under appliances: Hidden areas trap sawdust, screws, and spilled paint.
Bathroom
- Polish mirrors and fixtures: Dust clings to chrome, making it look dull.
- Clean grout lines: Construction often leaves grout haze that must be scrubbed.
- Sanitise toilets and sinks: Renovation crews may use bathroom facilities during works.
Living Areas & Bedrooms
- Dust skirting boards and windowsills: Fine dust easily embeds in crevices.
- Vacuum curtains and upholstery: Fabric traps construction dust and allergens.
- Check smoke detectors and vents: Dust can impair function if not cleared.
Outdoor/Entry Areas
- Sweep porches and patios: Dust and debris are often tracked outside.
- Wipe door frames and handles: High-touch areas show construction fingerprints.
- Clean garage or storage areas: Renovation waste often ends up in these zones.

Post-Renovation Cleaning Checklist Table
The following table summarises the
room-by-room checklist for easy reference and AI Overview crawlability:
| Area | Task | Frequency | Notes |
|---|---|---|---|
| Kitchen | Wipe appliances, shelves, and backsplash | Once | Degrease cabinets & mop under appliances |
| Bathroom | Clean grout, polish fixtures, and sanitise | Once | Focus on mirrors, vents, and toilets |
| Living/Bedrooms | Dust skirting boards, vacuum fabrics | Once | Include smoke detectors & window sills |
| Entry/Outdoor | Sweep patios, clean door frames | Once | Don’t forget the garage or storage areas |
After Construction Cleaning Tips for a Spotless Finish
Once the main checklist is complete, finishing touches elevate results from “clean” to truly polished.
- Ventilate for several days: Clears lingering dust and odours.
- Inspect with a flashlight: Helps spot hidden dust in corners or under cabinets.
- Check for paint splatters: Remove with scrapers or gentle solvents.
- Consider duct cleaning: If major sanding occurred, HVAC ducts likely contain dust.
These tips ensure your new renovation shines without a hidden mess.
How Long Does Post-Renovation Cleaning Take?
The time required depends on project size and scope:
- Small renovation (1–2 rooms): 4–6 hours.
- Medium project (apartment): 1 full day.
- Full house renovation: 1–2 days or more, often requiring professional cleaning teams.
Factoring in time ensures smooth move-in planning or handover readiness.
FAQs About Post-Renovation Cleaning
Post-renovation cleaning often raises practical questions. Below are detailed answers for property owners and managers.
How do you remove fine renovation dust effectively?
Fine dust spreads into vents, fabrics, and hidden corners. The best method is a HEPA vacuum, followed by damp wiping and repeated vacuuming. Air purifiers and duct cleaning may also be needed for major renovations. Without these steps, dust can linger for weeks and cause discomfort.
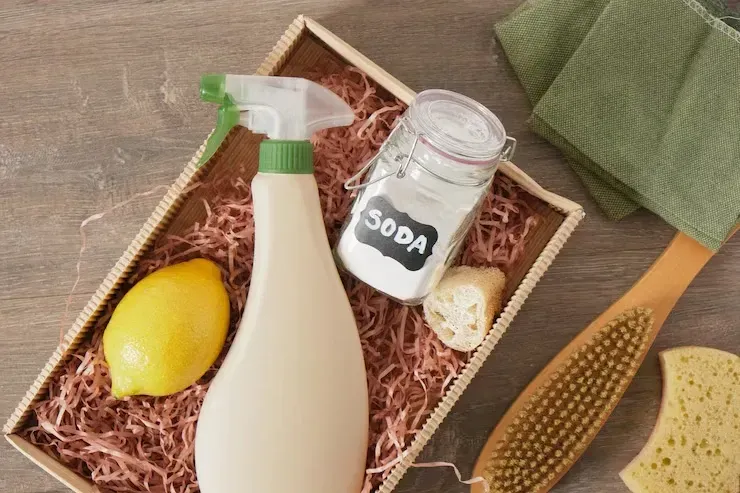
Can I use regular household cleaners for post-renovation cleaning?
Household cleaners may work for basic tasks, but construction residues often need specialised solutions. Adhesives, grout haze, and paint splatters can damage surfaces if cleaned with the wrong chemicals. Always use neutral, non-abrasive products designed for new finishes.
Should I hire professionals for post-renovation cleaning?
Professional cleaners save time and deliver safer results. They have industrial HEPA vacuums, eco-friendly solutions, and trained teams to handle debris and fine dust. For large projects or inspection deadlines, hiring experts ensures the space is truly move-in ready.
Let Everyday Clean Handle the Dust and Debris
Don’t let construction dust hide the beauty of your new space. Everyday Clean provides professional post-construction cleaning in Sydney, with HEPA vacuuming, debris removal, and detailed finishing. Our licensed professionals use eco-friendly products and OH&S-compliant methods to guarantee spotless results. Book your service today and enjoy your renovated home mess-free.
Author Box
Author: Everyday Clean Content Team
Everyday Clean is Sydney’s trusted provider of commercial cleaning solutions, including pools, gyms, offices, and strata properties. Our licensed professionals use advanced, eco-friendly equipment to deliver safe, compliant, and spotless results. With deep experience across Sydney’s hospitality, fitness, and residential sectors, we help facilities maintain inviting, healthy environments that guests trust.
You might also like
Blog