How to Clean Office Desk: 7-Step Guide
How to clean an office desk correctly depends on the desk surface material, the type of equipment on it, and which zones accumulate the most bacteria. A laminate workstation cleaned with the same product as a timber veneer desk risks dull patches and edge delamination. A keyboard wiped with an ammonia-based spray will corrode the key legend coatings within weeks. These seven steps cover the correct sequence, material-specific products, disinfection dwell times, and maintenance frequency for every office desk type used in commercial workplaces - from standard laminate hot desks to executive timber workstations and glass-topped reception desks.
Key Takeaways
- Always clear and dry-dust the desk surface before introducing any liquid - wet-wiping a dusty surface creates a slurry that scratches laminate finishes and presses particles into timber grain.
- Desk surface material determines which products are safe: pH-neutral all-purpose cleaner for laminate and MDF melamine, oil-based wood cleaner or diluted mild soap for timber, 50/50 white vinegar and water for glass.
- Disinfection requires a dwell time of at least 30 seconds for 70% isopropyl alcohol on hard surfaces - wiping immediately after application removes the product before it can kill surface bacteria.
- Keyboards, computer mice, and desk phones carry the highest bacterial load of any item on the desk and should be disinfected with 70% isopropyl alcohol on a lint-free cloth at least three times per week.
- Monitor screens must be cleaned with a dry microfibre cloth only - no spray products, no isopropyl alcohol, no glass cleaner - as these strip the anti-reflective coating permanently.
About EverydayClean
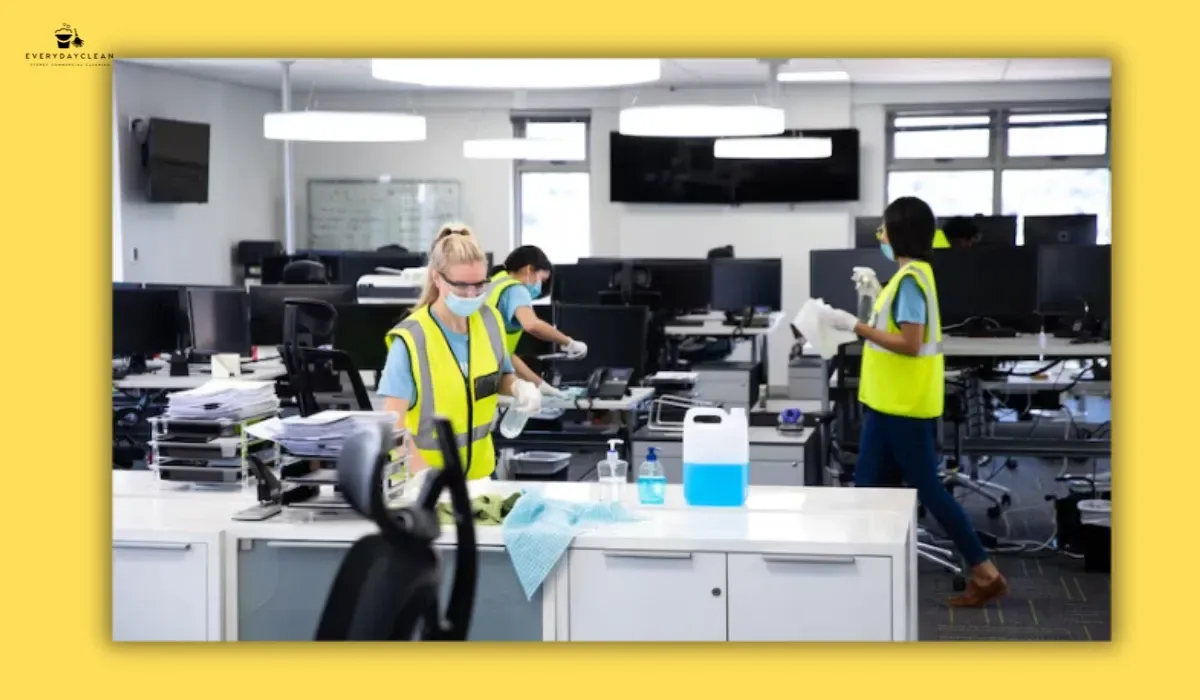
EverydayClean provides professional commercial and specialist cleaning services across Sydney. The team focuses on office, gym, medical, childcare, NDIS, Airbnb, construction, strata, warehouse, and hospital cleaning, supported by scheduled workplace cleaning, surface disinfection, floor care, restroom and kitchen cleaning, waste management, and site-specific cleaning checklists.
Step 1: Clear the Desk Surface and Remove All Loose Items
Clearing the desk completely before cleaning is not a preliminary step - it is the step that determines the quality of every task that follows. Products applied around a monitor, keyboard tray, pen holder, and stacked documents leave the highest-contact zones untouched. Professional office cleaners remove everything from the surface before a single cloth is applied: monitor and stand, keyboard, mouse, phone, desk accessories, personal items, and loose papers.
During the clear-down, sort items into three categories. Items that belong back on the desk surface after cleaning go to one side. Items that belong in a drawer or storage go directly there. Items that are waste - empty coffee cups, pens that no longer work, outdated paperwork, packaging - go to the bin. This sort happens during every professional desk clean, not as a separate decluttering session, because returning items selectively to the desk reduces the total surface area covered by accessories and makes every subsequent clean faster and more thorough.
Cable management is part of Step 1. Gather loose cables, move them to one side, and note any frayed insulation or overloaded power boards that need reporting. Cables that run across the desk surface trap dust, moisture, and food debris at the point of contact with the desk. Once the surface is clear and cables are moved, the desk is ready for dry dusting.
Technique
Place a clean microfibre cloth flat on the floor or a nearby surface before clearing the desk. Stack monitor, keyboard, and accessories on the cloth to protect them from scratching during the clean, and to keep all items together for efficient return after the wipe-down is complete.
Step 2: Dry-Dust Every Surface Before Introducing Any Liquid
Dry dusting must precede wet wiping on every desk surface, regardless of material type. Applying a damp microfibre cloth or spray cleaner to a dusty laminate, glass, or timber surface introduces moisture to a layer of abrasive particles - grit, paper dust, skin cells, and dried food debris - which then act as a fine sandpaper under the cloth. The result is micro-scratches on laminate finishes, dulling of timber coatings, and visible streaks on glass surfaces that worsen with each subsequent wet clean.
Use a clean, dry microfibre cloth for this step. Microfibre cloths have a fibre structure that creates an electrostatic charge, capturing fine dust particles and holding them in the cloth rather than redistributing them. Standard cotton cloths and paper towels push particles across the surface without capturing them. Fold the cloth into quarters so all four folded sections can be used as clean surfaces, as each one becomes loaded with dust.
Work the dry cloth from the back of the desk toward the front edge, covering the full desk surface, including the side panels, the undersurface lip, and any integrated keyboard trays. Pay particular attention to the area behind the monitor stand where dust compresses into a ridge over time, and the channel directly below the desk edge where the wrist rests during typing. This compressed-dust zone has the highest concentration of skin cells, oils, and food particles of any fixed location on the desk surface.
Regulation
Safe Work Australia's workplace hygiene guidance recommends dry removal of dust and debris from surfaces before applying liquid disinfectants or cleaners. This sequence ensures cleaning products contact the actual surface rather than a layer of particulate matter, improving both hygiene outcomes and surface protection.
Step 3: Clean the Desk Surface Using the Correct Method for the Material
Office desk surfaces fall into four main categories - melamine laminate, solid timber or wood veneer, glass, and metal - and each requires a different product and technique. Applying the wrong product to any of these finishes causes cumulative damage: laminate edges swell and delaminate with repeated moisture exposure; timber coatings cloud from ammonia-based products; glass develops film from oil-based polishes. Identifying the desk surface material correctly before selecting a cleaning product is not optional - it directly determines whether the surface is protected or degraded over its service life.
Laminate and MDF melamine (most common in commercial offices) - Apply a pH-neutral all-purpose cleaner to a microfibre cloth, not directly to the desk. Wipe the surface in overlapping strokes from back to front. Follow immediately with a dry microfibre cloth to remove any residual moisture. Laminate surfaces are manufactured with a polymer overlay bonded to an MDF or particle board substrate - pooled moisture at the edges or joins wicks into the substrate and causes swelling and edge lifting over weeks of repeated exposure. Do not use ammonia-based products, bleach-based sprays, or abrasive pads on laminate, as these permanently damage the polymer surface layer. For stubborn marks such as dried ink or food residue, apply a small amount of isopropyl alcohol (70%) to the mark directly via a cloth, allow 10 seconds of contact, then wipe and dry immediately.
Timber and wood veneer - Apply a dedicated timber desk cleaner or a solution of mild dish soap diluted in warm water (approximately 1 teaspoon soap per litre of water) to a microfibre cloth, wrung until barely damp. Wipe in the direction of the wood grain only - wiping against the grain drives moisture into the grain channels and accelerates finish degradation. Dry immediately with a second cloth. Never allow moisture to sit on a timber or veneer surface for more than a few seconds. Apply a beeswax paste or wood conditioning oil monthly using a separate, dry cloth to maintain the protective surface coating and restore the grain. Vinegar-based products are not appropriate for timber or veneer - acetic acid degrades oil and wax finishes progressively.
Glass desk surfaces - Prepare a 50/50 solution of white distilled vinegar and water in a spray bottle. Apply to a lint-free microfibre cloth (not directly to the glass, as overspray reaches the desk frame and any adjacent timber or metal components). Wipe the glass surface using overlapping strokes in one direction, then buff with a dry cloth in the opposite direction to eliminate streaks. For fingerprints and grease marks, a second pass using a clean, dry cloth is more effective than reapplying the vinegar solution. Do not use furniture polish or oil-based products on glass; these leave a film that attracts dust and creates a haze that is not removable with standard glass cleaners.
Metal desk surfaces and frames - Wipe with a damp microfibre cloth and mild soap solution. Dry immediately to prevent water spotting on polished metal frames. For stainless steel desk components, wipe in the direction of the visible grain to avoid cross-grain scratches.
Step 4: Disinfect High-Touch Zones - Keyboard, Mouse, Phone, and Desk Edges
Disinfection is a separate step from surface cleaning - cleaning removes visible soil and organic matter, while disinfection uses a chemical agent to kill residual bacteria and viruses on contact surfaces. The two must happen in sequence: cleaning first, then disinfection. Applying a disinfectant to a surface that still has dust, skin oils, or food residue on it significantly reduces the effectiveness of the disinfectant, because organic matter neutralises the active chemistry before it reaches the surface.
The keyboard is the highest bacterial-load item on any office desk. Research confirms that keyboards in shared offices carry significantly more bacteria per square centimetre than toilet seats, primarily because they are touched hundreds of times per day but rarely cleaned. To clean and disinfect a keyboard correctly: disconnect it from the computer (or turn off the laptop), hold it inverted and shake gently over a bin to dislodge loose debris, then use a can of compressed air to blow particles out from between the keys. Apply 70% isopropyl alcohol to a lint-free cloth (the cloth should be barely damp, not wet) and wipe across the key surfaces in rows, pressing gently into the key edges. Allow the keyboard to dry fully before reconnecting - typically 5 to 10 minutes.
For the computer mouse, apply 70% isopropyl alcohol to a cloth and wipe the full exterior surface including the scroll wheel housing, the underside, and the cable near the connector where oils accumulate from repeated handling. For wireless mice, wipe around the battery compartment seam as well, where debris collects.
The desk phone - including handset, base, buttons, and earpiece grille - requires disinfection every session it is used by multiple people. Spray 70% isopropyl alcohol onto the cloth only, never onto the phone directly, as liquid reaching the speaker grille or charging port damages the internal components. Press the cloth gently into the button recesses and wipe the full handset surface.
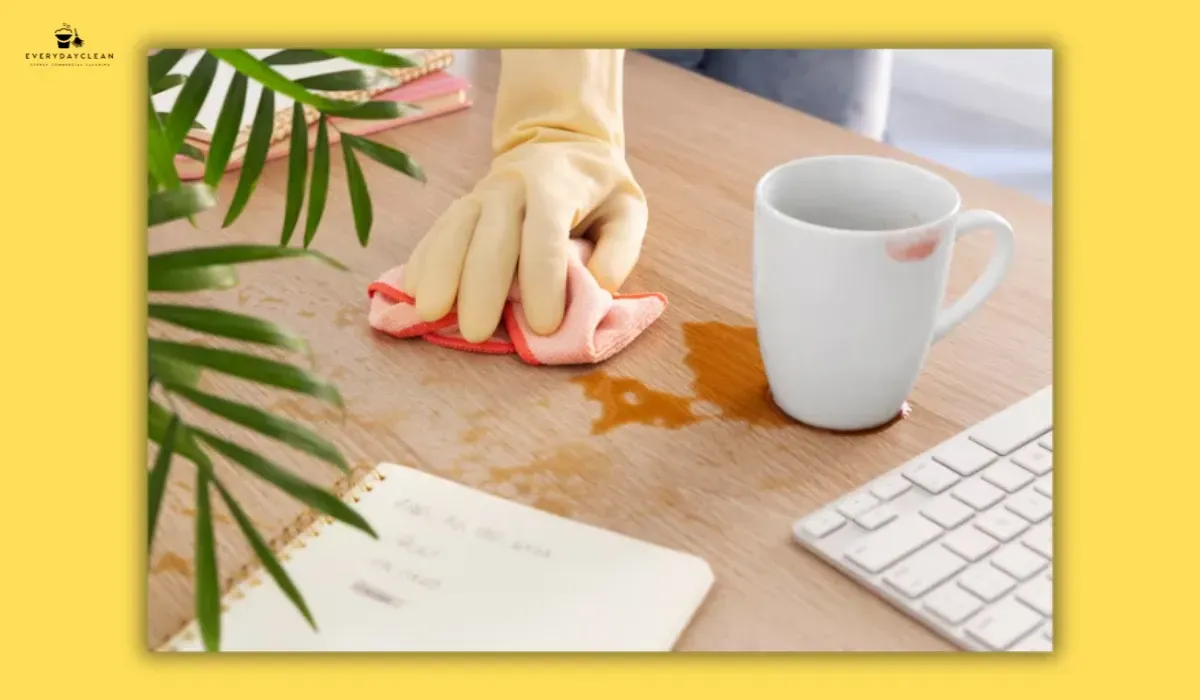
Desk edges and drawer handles are high-touch zones that are frequently missed in routine desk cleaning. The front edge of the desk, where the wrists rest during extended keyboard use, accumulates skin oils, dead cells, and transferred bacteria throughout the day. Disinfect this area during every full clean with the isopropyl alcohol cloth used for the keyboard, wiping the full edge from left to right including the underside lip.
For more detail on the products and safety protocols that apply to office cleaning equipment and disinfection in commercial workplaces, the
office cleaning safety tips guide covers chemical handling, PPE requirements, and surface contact time standards
Managing a commercial office and need consistent workstation cleaning?
EverydayClean's office cleaning teams cover desk surfaces, high-touch disinfection, screen care, and equipment exteriors as part of a structured office cleaning service - scheduled around your operating hours to minimise disruption.
Step 5: Clean Monitor Screens and Office Equipment Exteriors
Monitor screens, laptop displays, and the exterior surfaces of printers, scanners, and desktop towers require a different approach from desk surfaces and electronic peripherals. The anti-reflective and anti-glare coatings applied to LCD, LED, and OLED displays are extremely sensitive to chemical products. A single application of isopropyl alcohol, ammonia-based cleaner, or paper towel to a monitor screen can permanently remove the anti-reflective coating, leaving permanent smear patterns and hazing that cannot be reversed.
The correct method for cleaning monitor screens and laptop displays: use a clean, dry microfibre cloth only. Hold the cloth flat against the screen and apply gentle, even pressure in circular or linear strokes. For marks that resist dry wiping (fingerprints with grease, transferred make-up), slightly dampen a corner of the microfibre cloth with distilled water only - no tap water, which leaves mineral deposits - and apply to the mark, then immediately follow with the dry section of the cloth.
For the exterior housing of monitors, printers, and desktop computers: these surfaces are typically moulded ABS plastic and can be wiped with a cloth dampened with a mild all-purpose cleaner or 70% isopropyl alcohol. Apply to the cloth rather than directly to the equipment. Avoid getting any liquid near ventilation slots, USB ports, power connectors, or the point where the power cable enters the equipment. Compressed air is appropriate for blowing dust from ventilation grilles before the wipe-down.
For sit-stand desk mechanisms and height-adjustable desk controllers: wipe the controller panel and adjustment buttons with a barely damp cloth. Do not spray anything directly at the motor housing or column mechanism. Clean the desk surface at both height positions if the desk is regularly used at standing height, as the grip zone at the desk edge in the standing position accumulates the same hand-contact residue as the seated wrist zone.
Step 6: Clean Desk Edges, Cable Channels, and Under-Desk Areas
The areas immediately around and below the desk surface accumulate some of the highest concentrations of debris in any office workstation, yet they are the areas most consistently missed in routine cleaning. The desk edge underside collects dust that falls from the surface during the workday. Cable channels and grommets trap cables in compressed bundles that create dead zones where dust, paper scraps, and food debris accumulate undisturbed. The floor area under the desk - beneath the chair mat, behind the pedestal, and around the base of the desk frame - receives every particle that falls from the desk surface over time.
Clean these areas in this sequence:
- Desk edge undersurface - Run a dry microfibre cloth along the full length of the underside of the desk edge, where dust accumulates in a ridge. If adhesive cable clips or sticky hooks are attached to the underside, remove them, clean the surface behind them, and discard any that have failed.
- Cable channels and grommets - Use a crevice tool on a vacuum, or a can of compressed air, to remove compressed dust from any integrated cable management channels, grommet holes, or cable trays attached below the desk surface. Cables bunched through grommets should be pulled loose, wiped individually with a dry cloth, and returned organised.
- Desk pedestal exterior - Wipe the top, sides, and drawer faces of the desk pedestal with an all-purpose cleaner on a microfibre cloth. The top of the pedestal accumulates the same debris as the main desk surface. Drawer handles require disinfection with 70% isopropyl alcohol as they are high-contact points throughout the working day.
- Under-desk floor area - Use a vacuum with a crevice or floor tool to clean the floor area directly under the desk, behind the chair mat, and around the desk frame legs. This area is difficult to reach during routine floor vacuuming and accumulates debris at a higher rate than open floor areas due to its sheltered position. For a clean that pairs desk maintenance with chair care, the
step-by-step office chair cleaning guide covers upholstery, castors, and base disinfection by material type.
Step 7: Establish a Daily, Weekly, and Monthly Desk Cleaning Schedule
A single desk clean, however thorough, does not maintain a hygienic workstation. The desk surface returns to a visibly soiled state within two to three days of a complete clean in an actively used workspace. Establishing a maintenance schedule with specific tasks assigned to daily, weekly, and monthly intervals keeps the desk clean with less total effort than periodic recovery cleans, and prevents the accumulation of hardened stains, compacted keyboard debris, and oxidised desk finishes that require extended treatment to remove.
The recommended task cadence for a single office workstation:
- Daily (3-5 minutes): Wipe desk surface with an all-purpose cleaner on a microfibre cloth at the end of each workday. Disinfect keyboard, mouse, and phone with 70% isopropyl alcohol. Dispose of food packaging, empty cups, and loose waste. Return all items to their designated positions so the surface is clear overnight.
- Weekly (10-15 minutes): Run compressed air through the keyboard. Wipe monitor screen with a dry microfibre cloth. Clean desk edges, drawer handles, and pedestal surfaces. Vacuum under-desk floor area. Wipe cable exteriors. Apply the correct surface treatment for the desk material type - all-purpose pH-neutral cleaner for laminate, mild soap for timber.
- Monthly (20-30 minutes): Deep clean the keyboard by removing keycaps if applicable. Wipe the underside of the desk and cable management components. Apply beeswax or wood conditioning oil to timber surfaces. Clean inside drawers including drawer runners and interior corners. Inspect cable clips, adhesive hooks, and cable ties for failure and replace as needed.
Coordinating individual desk cleaning with the
office tidying schedule used by the broader workplace cleaning team ensures daily self-maintenance and professional servicing work together rather than duplicating effort.
📌 Workplace Standard
Safe Work Australia's guidance on maintaining hygienic workplaces recommends that shared desks and hot desks in commercial offices be cleaned and disinfected between each user. For fixed single-user workstations, daily surface wiping and weekly equipment disinfection are the benchmarks for maintaining acceptable hygiene standards in open-plan office environments.
How to Clean an Office Desk: FAQs
Office managers, employees, and facilities teams regularly raise specific questions about desk cleaning products, frequency, and the correct approach for shared workstations. The following questions are drawn from common search queries and workplace hygiene discussions, answered directly based on professional cleaning practice.
What products should be used to clean an office desk?
The correct cleaning products for an office desk depend on the surface material. Laminate and MDF melamine desks - the most common type in commercial offices - require a pH-neutral all-purpose cleaner applied to a microfibre cloth. Timber and veneer desks require a mild soap solution or a dedicated timber cleaner; never ammonia or vinegar. Glass desk surfaces respond well to a 50/50 white vinegar and water solution. For disinfection of keyboards, mice, phones, and desk edges across all surface types, 70% isopropyl alcohol on a lint-free cloth is the standard and most compatible option.
How often should an office desk be cleaned?
An office desk used daily by a single employee should have its surface wiped with a cleaning solution at the end of each workday, with keyboard, mouse, and phone disinfection three to five times per week. A monthly deep clean covering the undersurface, cable management, and inside the drawers maintains the full workstation. Shared desks and hot desks in coworking environments or shared spaces require surface cleaning and disinfection between every user - not once per day - as each new user introduces a different microbial profile to
Can a keyboard be cleaned without compressed air?
Compressed air is the most effective tool for removing debris from between keys, but it is not the only option. Turning the keyboard upside down and shaking it firmly over a bin removes loose crumbs and debris that have not been compressed into the key mechanism. A clean, soft-bristle paintbrush drawn along the key channels dislodges particles that shaking does not reach. A slightly damp microfibre cloth can be used on the key tops for surface cleaning after debris removal. Do not pour liquid into the keyboard, do not use a wet cloth without first removing loose debris, and do not use a standard vacuum directly on the keyboard without a soft brush attachment.
Is it safe to clean office equipment like printers and monitors with the same spray used on the desk?
No. Monitors, laptop screens, and printer housings require a different approach from desk surfaces. Spraying all-purpose cleaner or isopropyl alcohol directly onto a monitor screen strips the anti-reflective coating within a few applications - use a dry microfibre cloth only on screen surfaces, with distilled water at most for stubborn marks. Printer housings and plastic equipment exteriors tolerate a mild all-purpose cleaner applied to a cloth, but liquid must never enter ventilation slots, USB ports, or connector sockets. The office cleaning equipment used for desk surfaces should not be used on screens without deliberately switching to a dry or distilled-water-only method.
Maintaining a Clean Office Desk Protects Equipment and Reduces Sick Days
How to clean an office desk correctly is ultimately a material-handling and frequency question, not a product quantity question. The most common desk cleaning mistakes - wet-wiping before dry-dusting, using ammonia sprays on veneer, applying isopropyl alcohol directly to monitor screens, and skipping dwell time during disinfection - all stem from treating the desk as a single surface type that responds to a single product. Each material, each device, and each zone on the workstation has a specific requirement, and matching the approach to the surface is what distinguishes a maintenance clean from one that progressively degrades the equipment it is meant to protect.
A consistent daily, weekly, and monthly desk cleaning schedule reduces the bacterial load on keyboards, phones, and contact surfaces to levels that measurably lower workplace illness transmission. For offices where professional cleaning support maintains the broader environment - floors, amenities, and shared spaces - the desk cleaning steps in this guide slot directly into the routine covered by a structured
professional office cleaning Sydney, ensuring individual workstation hygiene aligns with the overall cleaning standard applied to the workplace.
Let a Professional Team Handle Workstation Cleaning on a Set Schedule
EverydayClean provides structured desk and workstation cleaning for commercial offices - surface disinfection, equipment exterior care, and keyboard maintenance included.
Book a Free QuoteYou might also like
Blog