House Cleaning Tips: Room-by-Room Checklist
House cleaning tips work best when they are organised by room, tied to a clear frequency, and built around tools that remove soil rather than just move it. A microfibre cloth, an all-purpose spray, a HEPA-filter vacuum, and a structured top-to-bottom method will outperform any collection of single-use products used without a plan. The checklist below covers every major area of a home - kitchen, bathroom, bedroom, living room, and floors - with the specific steps, products, and frequencies that professional cleaners apply on every visit.
Key Takeaways
- Always clean top to bottom and back to front in every room - dust falls downward, and working the other direction means cleaning surfaces twice.
- Apply bathroom and toilet cleaners first, then clean other surfaces while the product dwells; this cuts bathroom cleaning time significantly.
- Microfibre cloths hold six times their weight in water and have 40 times more surface area than cotton, which makes them the single most effective surface cleaning tool in any household.
- Kitchen surfaces and bathroom fixtures need daily wiping to prevent soap scum, limescale, and grease from hardening into problems that require 10 to 20 minutes of scrubbing to resolve.
- A "no-shoes indoors" policy reduces tracked-in grit and soil by approximately 80%, cutting floor cleaning time and extending the life of carpet fibres.
About EverydayClean
EverydayClean provides professional commercial and specialist cleaning services across Sydney. The team focuses on office, gym, medical, childcare, NDIS, Airbnb, construction, strata, warehouse, and hospital cleaning, supported by scheduled workplace cleaning, surface disinfection, floor care, restroom and kitchen cleaning, waste management, and site-specific cleaning checklists.
Need a professional cleaning team for your home or short-stay property? Book a free quote with EverydayClean.
House Cleaning Tips for the Kitchen: Daily, Weekly, and Monthly Tasks
The kitchen accumulates soil faster than any other room in the house. Grease vapour from cooking settles on cabinet faces, range hoods, and splashbacks within minutes of a meal, and food residue left on stovetops and benchtops hardens overnight into material that requires abrasive cleaning to remove. The most effective approach professional cleaners use is to clean as the kitchen is used - wiping benchtops after each meal preparation session, rinsing the sink after dishes, and sweeping the floor before debris is tracked through the rest of the house.
Use this task-by-task kitchen checklist:
- Daily - Wipe benchtops with an all-purpose spray and microfibre cloth - Apply the spray and allow 30 seconds of dwell time before wiping. This contact time is what kills surface bacteria; wiping immediately after spraying removes the product before it can act. Pay particular attention to the area around the sink, stovetop edges, and the section directly below the overhead cupboards where condensation settles.
- Daily - Clean stovetop surfaces after each cooking session - Fresh grease wipes off in seconds with a damp microfibre cloth and a small amount of dish soap. Grease left overnight fuses with the stovetop enamel or glass surface and typically requires a baking soda paste (1 part baking soda mixed with water to a wet-sand consistency) and 10 to 15 minutes of contact time to break down. For stainless steel stovetops, always wipe in the direction of the grain to prevent surface scratching.
- Daily - Empty the dishwasher in the morning and reload it throughout the day - Loading dishes throughout the day prevents them from being stacked on the sink or benchtop, where they attract insects and create odour. Running the dishwasher at night keeps the cycle out of the way of meal preparation.
- Weekly - Clean the exterior of all appliances - Use a 50/50 mixture of white vinegar and water in a spray bottle to clean the exterior of the refrigerator, dishwasher, and oven. For stainless steel surfaces, follow with a dry microfibre cloth buffed in the direction of the grain to prevent streaking. Fingerprints on a stainless steel refrigerator door are one of the first details visitors notice, and a weekly wipe takes under two minutes.
- Weekly - Clean the inside of the microwave - Place a microwave-safe bowl containing 240ml of water and a few slices of lemon inside, heat on high for 3 minutes, and leave the door closed for 5 minutes. The steam loosens splattered food, which then wipes off with a single cloth pass. No chemical product is required.
- Monthly - Deep clean inside the refrigerator - Remove all items, discard expired food, and wipe shelves and drawers with a solution of 1 tablespoon bicarbonate of soda dissolved in 1 litre of warm water. Bicarbonate neutralises food odours without leaving a chemical residue that could affect food stored on the shelves.
- Monthly - Clean the range hood filter - A clogged range hood filter recirculates grease-laden air rather than extracting it, coating kitchen surfaces faster and reducing ventilation efficiency. Soak the metal filter in a solution of boiling water and dishwashing liquid for 10 minutes, then scrub with a stiff nylon brush.
💡 Pro Tip
Keep a cleaning caddy stocked with a multi-surface spray, bicarbonate of soda, white vinegar, microfibre cloths, and a scrubbing sponge permanently positioned in the kitchen. Proximity removes the barrier of having to retrieve supplies from another room, which is the most common reason small kitchen cleaning tasks are deferred and compound into larger ones.
House Cleaning Tips for the Bathroom: The Dwell-Time Method
Bathroom cleaning is significantly faster when cleaning products are applied first and left to work while other tasks are completed. Professional cleaners apply toilet bowl cleaner under the rim, spray the shower walls and tub with an all-purpose or bathroom-specific cleaner, and then clean the sink, mirror, and other surfaces during the dwell time. By the time those surfaces are done, the shower and toilet are ready to scrub with minimal effort - the chemistry has done the heavy lifting.
Follow this bathroom sequence:
- Step 1 - Apply toilet bowl cleaner under the rim first - Squirt toilet bowl cleaner under the rim and allow it to dwell for at least 5 to 10 minutes. This ensures the active ingredients (typically citric acid, hydrochloric acid, or enzymatic compounds) break down mineral deposits and bacteria before scrubbing begins.
- Step 2 - Spray shower walls, tub, and tiles - Apply bathroom cleaner to all wet surfaces and leave to dwell while you move to the dry surfaces. Shower screens accumulate soap scum - a calcium-fatty acid compound - that does not dissolve with a quick wipe. For heavily built-up soap scum, apply a commercial soap scum remover or a thick paste of cream of tartar mixed with white vinegar, allow 10 minutes, then scrub with a non-scratch nylon pad.
- Step 3 - Clean the sink, tapware, and mirror - Wipe the basin and tapware with a damp microfibre cloth and all-purpose spray. For limescale deposits around tapware, wrap a cloth soaked in undiluted white vinegar around the fitting and leave for 15 minutes before wiping. Clean the mirror with a glass cleaner applied to the cloth rather than directly to the mirror to prevent the product from seeping into the frame backing.
- Step 4 - Return to the shower and toilet - Scrub the shower walls, doors, and tub after the dwell time, working from the top of the walls downward. Use a nylon scrubbing pad on tiles and a squeegee on glass shower screens to remove both soap residue and water. Scrub the toilet bowl with a toilet brush, then wipe the exterior of the toilet (seat, lid, bowl exterior, and base) with a disposable wipe or dedicated cloth.
- Step 5 - Sweep or vacuum the floor, then mop - Sweep or vacuum bathroom floor tiles before mopping. This removes hair, dust, and debris that would otherwise be pushed around by the mop and redeposited into grout lines.
⚠️ Warning
Never mix bleach with vinegar, ammonia, or any acid-based cleaner. Bleach combined with ammonia produces chloramine gas, which causes respiratory irritation at low concentrations and can be acutely toxic in enclosed, poorly ventilated bathrooms. Use one product type per surface and rinse thoroughly between applications if switching products.
House Cleaning Tips for the Bedroom: Frequency and Allergen Control
The bedroom accumulates a specific category of soil that is largely invisible: dust mites, dead skin cells, pet dander, and pollen. These particles settle into mattress fabric, pillow filling, bedding fibres, and carpet pile - and when disturbed by movement during sleep, they become airborne and are inhaled throughout the night. For households with asthma or allergic rhinitis, this allergen load has a measurable effect on sleep quality and respiratory symptoms.
Apply these bedroom cleaning habits on a consistent schedule:
- Daily - Make the bed - Pulling the bedding back and allowing the mattress to air for 10 to 15 minutes before making the bed reduces moisture trapped under the sheets, which is the primary condition that supports dust mite reproduction. Dust mites require relative humidity above 50% to survive; airing the bed denies them this.
- Weekly - Change and wash bedding - Wash sheets, pillowcases, and pillowslips in water at 60°C or above to kill dust mites. At temperatures below 60°C, mites survive the wash cycle. Use a dryer rather than air-drying indoors, as indoor drying raises ambient humidity levels - again supporting dust mite populations.
- Weekly - Dust surfaces top to bottom - Dust from the highest point in the room (ceiling fan blades, the top of wardrobes, picture rails) downward to furniture surfaces and finally baseboards. Feather dusters redistribute particles into the air; a dampened microfibre cloth or electrostatic duster captures and removes them. For ceiling fan blades, slide an old pillowcase over each blade and wipe back to contain the dust rather than letting it fall onto the bed below.
- Weekly - Vacuum the floor and under furniture - Vacuum carpet or hard floor surfaces in the bedroom, including under the bed frame. The area under beds accumulates significant dust and hair that is not addressed by routine floor vacuuming. Use the vacuum's crevice tool along skirting boards and in corners, where fine dust settles and compacts.
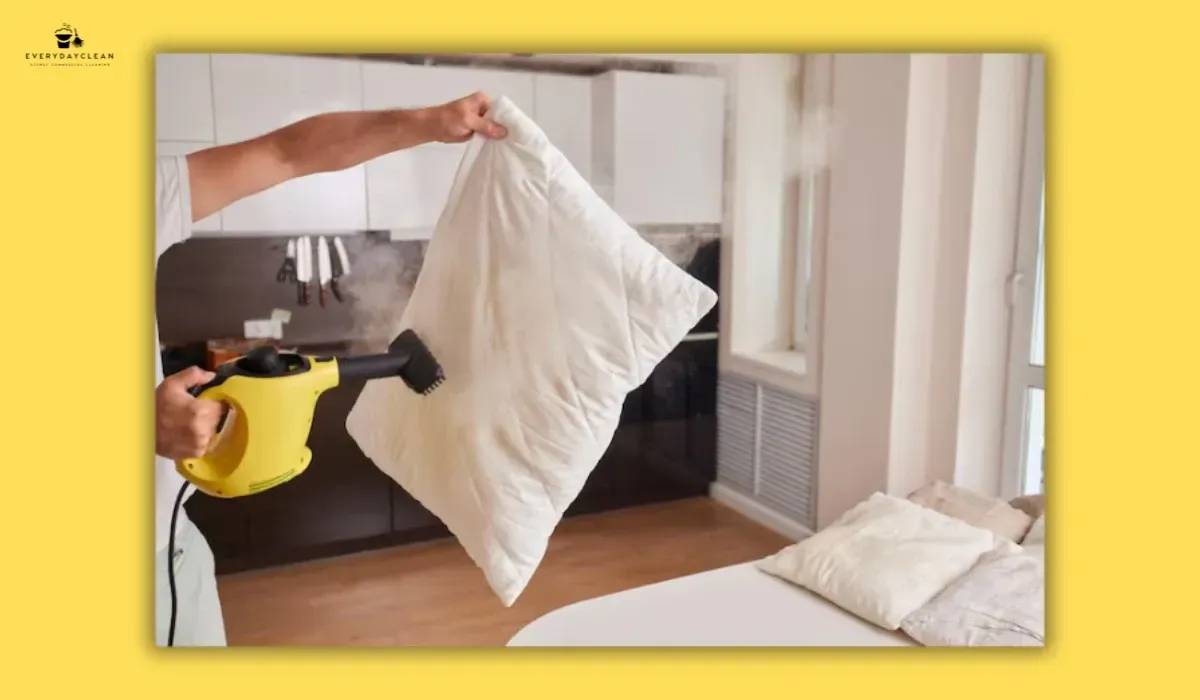
- Monthly - Vacuum the mattress - Use the vacuum's upholstery attachment to vacuum the mattress surface, sides, and the area around the stitching. This removes surface dust, skin cells, and mite bodies. After vacuuming, sprinkle a thin layer of bicarbonate of soda across the mattress surface, leave for 15 minutes, and vacuum again. Bicarbonate absorbs residual moisture and neutralises odours from perspiration.
ℹ️ Standard
Dust mite allergen (Der p 1) is one of the most prevalent indoor allergens in Australian homes. According to the Australasian Society of Clinical Immunology and Allergy (ASCIA), washing bedding at 60°C weekly and using dust mite-proof mattress and pillow encasements are the two most evidence-supported interventions for reducing allergen exposure in the sleeping environment.
House Cleaning Tips for the Living Room: Upholstery, Surfaces, and High-Touch Points
The living room presents a different cleaning challenge from the kitchen or bathroom: it accumulates dust and biological particles (pet dander, pollen, skin cells) across a wide range of surfaces simultaneously - soft furnishings, hard surfaces, electronics, floors, and textiles like curtains and cushion covers. A single cleaning pass that only wipes the coffee table and vacuums the floor misses the majority of allergen load.
Work through these tasks in this order for maximum efficiency:
- Before vacuuming - Knock dust loose from soft surfaces - Use a clean, dry microfibre cloth or upholstery attachment to beat dust and debris loose from cushions, throws, and curtains. This settles the particles onto the floor, where they are then captured in the final vacuuming pass. Cleaning soft furnishings after vacuuming the floor pushes the debris back onto a surface that has just been cleaned.
- Weekly - Dust all surfaces top to bottom - Dust from ceiling cornices, light fittings, and picture rails first, then shelving, entertainment units, and finally coffee tables and skirting boards. Use a slightly dampened microfibre cloth rather than a dry one to prevent fine particles from becoming airborne. Dry sheets (like Swiffer-style cloths) are effective on baseboards and create a temporary static charge that repels dust redeposition for several days.
- Weekly - Disinfect high-touch surfaces - Remote controls, light switches, door handles, and phone charging cables in the living room carry the highest surface bacterial load of any object in the house. Wipe remote controls and game controllers with a cloth barely dampened with isopropyl alcohol (70% concentration) - this disinfects without introducing enough liquid to damage the electronics. Clean the TV screen with a dry microfibre cloth only; no spray products on screens.
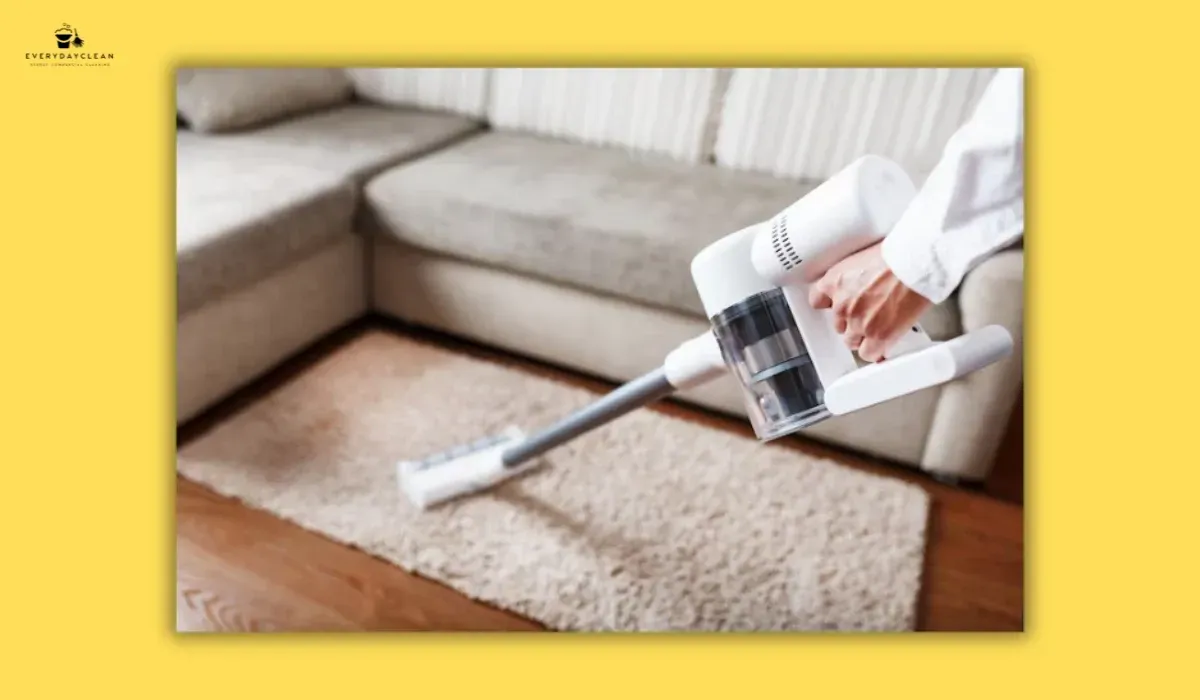
- Weekly - Vacuum upholstered furniture - Remove cushions and vacuum under them using the upholstery attachment. Vacuum the seat, back, and sides of sofas and armchairs. Food debris and organic particles trapped in fabric fibres support mould growth in humid climates; regular vacuuming removes the substrate before mould can establish.
- Monthly - Wash or vacuum curtains - Curtains collect airborne dust, pet hair, and pollen at a higher rate than other surfaces because they occupy the room's air pathway near windows and ventilation sources. Fabric curtains should be vacuumed with the upholstery attachment monthly and machine-washed twice per year where the care label permits.
For households where upholstery and carpet maintenance between professional cleans is a concern, understanding why professional carpet cleaning saves money long-term helps frame the case for a scheduled service rather than reactive spot-only treatment.
Managing a short-stay property and need consistent results between guest stays?
EverydayClean's Airbnb cleaning service delivers hotel-standard turnovers following a structured room-by-room checklist. View the Airbnb cleaning service.
House Cleaning Tips for Floors: Vacuuming, Mopping, and Surface-Specific Methods
Floors are the last surface cleaned in any room - never the first. Every dusting, wiping, and scrubbing task completed on vertical and horizontal surfaces above the floor deposits particles downward. Vacuuming or mopping before these tasks are complete means cleaning the floor twice. Professional cleaners vacuum floors as the final step in every room, working from the far corner of the room toward the door to avoid stepping back over cleaned surfaces.
Apply these floor care techniques by surface type:
- Carpet - Vacuum in overlapping passes with a HEPA-filter vacuum - A single pass of a vacuum cleaner removes surface soil but leaves behind particles embedded in the pile. Slow, overlapping passes in two directions - along the carpet grain and across it - extract significantly more debris. HEPA-filter vacuums are particularly important in households with allergy sufferers: standard vacuums without HEPA filtration can exhaust fine particles back into the air during operation.
- Carpet - Treat spills within 2 minutes using the blot-not-scrub technique - Place a clean white cloth over the spill and apply vertical pressure to absorb liquid. Scrubbing pushes the stain deeper into the pile and spreads it laterally. For residual staining, apply a pH-neutral carpet spotter to the cloth (not directly to the carpet), work inward from the stain's edge, and rinse with cold water applied to a fresh cloth.
- Timber and laminate floors - Damp mop, never wet mop - Excess moisture is the primary cause of timber floor cupping, warping, and laminate de-lamination. Wring the mop so thoroughly it feels barely damp, and use a pH-neutral timber floor cleaner rather than a vinegar-and-water solution. Despite being widely recommended online, undiluted white vinegar (acetic acid) degrades the protective coating on timber and laminate floors with repeated use.
- Tiles - Vacuum before mopping, change mop water every 4 square metres - Mopping tiles without first sweeping or vacuuming drags grit across the surface, which scratches grout and the tile glaze. Change mop water when it becomes visibly discoloured; mopping with dirty water deposits a thin film of suspended soil across the entire floor surface.
- Hard floor entry points - Focus on the first 3 metres inside each door - Entry areas accumulate grit, soil, and moisture tracked in from outdoors at a rate that is 10 to 20 times higher than the rest of the floor. A quality entrance barrier mat (minimum 1.2 metres deep) captures the majority of particles from shoe soles. Vacuuming this mat daily or shaking it outdoors prevents it from becoming a source of redistribution.
💡 Pro Tip
Colour-code microfibre cloths by room to prevent cross-contamination: red for bathrooms and toilets, blue for kitchens and dining areas, green for general surfaces. This practice, standard in commercial cleaning, prevents bacteria from bathroom surfaces being transferred to food-contact areas in the kitchen - a risk that is real but rarely considered in household cleaning routines.
House Cleaning Schedule: Daily, Weekly, and Monthly Task Cadence
A house cleaning schedule that assigns tasks to a frequency rather than to a single "cleaning day" is both more manageable and more effective than block cleaning sessions. Daily 10-minute routines in the kitchen and bathroom prevent the buildup that makes weekly cleaning feel overwhelming. Weekly passes through every room maintain the baseline. Monthly tasks address the areas that daily and weekly routines miss - oven interiors, mattress vacuuming, window tracks, ceiling fan blades, and the inside of the refrigerator.
The recommended task cadence for a standard 3-bedroom home:
- Daily (10-15 minutes total): Wipe kitchen benchtops and stovetop after cooking; load and run the dishwasher; do a quick wipe of bathroom sinks and mirrors; make beds; do one load of laundry; take out kitchen bin when full.
- Weekly (60-90 minutes total): Clean bathrooms using the dwell-time method; vacuum all floors; mop hard floors; dust all surfaces top to bottom; clean stovetop and appliance exteriors; change and wash bedding; wipe light switches, door handles, and remotes; vacuum upholstered furniture.
- Monthly (2-3 hours total): Deep clean inside the oven; clean the refrigerator interior; vacuum the mattress and treat with bicarbonate of soda; clean range hood filters; wipe ceiling fan blades; wash or vacuum curtains; clean window tracks and sills; scrub tile grout with a stiff brush and grout cleaner; clean under large furniture.
- Seasonally (half-day): Wash duvets and pillows; clean behind large appliances (refrigerator, oven, washing machine); clean inside kitchen cupboards and pantry; deep clean the washing machine drum with a cleaning tablet; pressure wash or scrub outdoor areas if applicable.
ℹ️ Standard
Research by the American Cleaning Institute found the average household spends approximately 6 hours per week on cleaning tasks. A structured daily-weekly-monthly system reduces this time significantly by preventing the accumulation that converts a 10-minute daily task into a 90-minute recovery clean.
For homes that need a structured foundation before establishing a self-maintained routine, understanding the
key differences between residential and commercial cleaning helps households identify what level of service genuinely addresses their needs.
FAQs
These questions reflect what households most commonly search for when building a house cleaning routine, choosing the right products, or deciding how to clean specific areas more efficiently.
What is the most efficient order to clean a house?
The most efficient order is to clean from top to bottom, back to front, and dirty to clean in every room. Start on the highest level of the house, work through each room beginning at the ceiling (ceiling fans, light fittings, high shelves) and finishing at the floor, then move room by room toward the exit. Clean the kitchen and bathroom first - they take the longest and benefit from product dwell time. Leave floors to last. Apply all cleaning products as the first action in each room and allow them to dwell while completing other tasks in that space.
How often should a house be deep-cleaned?
Most households benefit from a full deep clean every 3 to 6 months, with monthly attention to individual areas like oven interiors, mattresses, and refrigerators. A home with two adults, no pets, and low foot traffic can sustain 6-monthly deep cleans with weekly maintenance. Homes with children, indoor pets, or allergy sufferers typically require deep cleaning every 3 months - particularly in the bedroom and living areas where allergen load accumulates fastest. Following a consistent daily and weekly maintenance schedule reduces the scope and time required for deep cleaning sessions.
What cleaning products do professional house cleaners actually use?
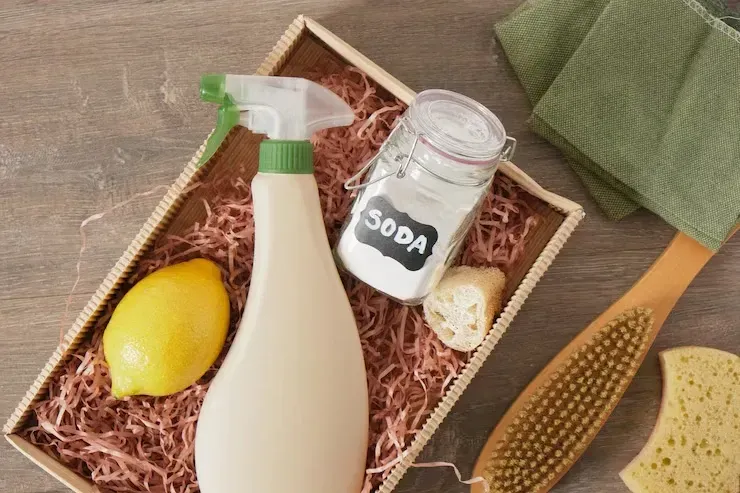
Professional house cleaners typically carry a multi-surface all-purpose spray (pH-neutral), a bathroom cleaner with descaling action, a glass cleaner, a toilet bowl cleaner with acid or enzymatic chemistry, microfibre cloths in multiple colours, a toilet brush, and a HEPA-filter vacuum. They rarely use more than 4 to 5 products on a standard residential clean. Bicarbonate of soda and white vinegar are effective for specific tasks - oven interiors, drain deodorising, and limescale on tapware - but are not substitutes for purpose-built disinfectants on bathroom and kitchen contact surfaces where pathogen reduction is the goal.
How do you keep a house clean when you have no time?
The most practical approach is daily 10-minute micro-routines rather than single long cleaning sessions. Wipe the kitchen after each meal, spray bathroom surfaces during a shower and wipe them dry afterwards, and run the dishwasher overnight. A "one-touch rule" for clutter - returning items to their designated place immediately rather than setting them down temporarily - eliminates the tidying component from weekly cleaning sessions. For households where time is a persistent constraint, a fortnightly professional home clean covering floors, bathrooms, and kitchen surfaces maintains a hygienic baseline between self-managed daily routines.
Keeping a Clean Home Without Starting Over Every Weekend
House cleaning tips are most effective when they form a system rather than a one-off checklist event. The real differentiator between a home that stays clean and one that requires a reset every Saturday is daily habit: wiping surfaces immediately after use, returning items to their place, and running cleaning products for the dwell time they need rather than skipping contact time.
The room-by-room approach covered in this guide gives each area a defined task list and frequency, which removes the mental load of deciding what to clean next. Kitchen, bathroom, bedroom, living room, and floors each have their own rhythm - and when those rhythms are followed consistently, the volume of work involved in maintaining a clean, hygienic home drops to a fraction of what periodic recovery cleans require. For households who rely on professional support for deeper periodic cleans, a
structured Airbnb-style cleaning checklist provides a useful reference for the level of detail a thorough clean should cover.
Let a Professional Team Handle the Deep Clean
EverydayClean delivers residential and short-stay cleaning on a scheduled basis, following detailed checklists that cover every room, surface, and high-touch point.
Book a Free QuoteYou might also like
Blog