DIY Mould Removal: 5 Steps To Remove Mould At Home
DIY mould removal is a common challenge for homeowners and renters across Australia, especially in damp-prone spaces like bathrooms, laundry areas, kitchens, and ceilings. Mould doesn't just leave unsightly marks—it thrives in hidden moisture, spreads rapidly, and contributes to persistent odours and indoor discomfort.
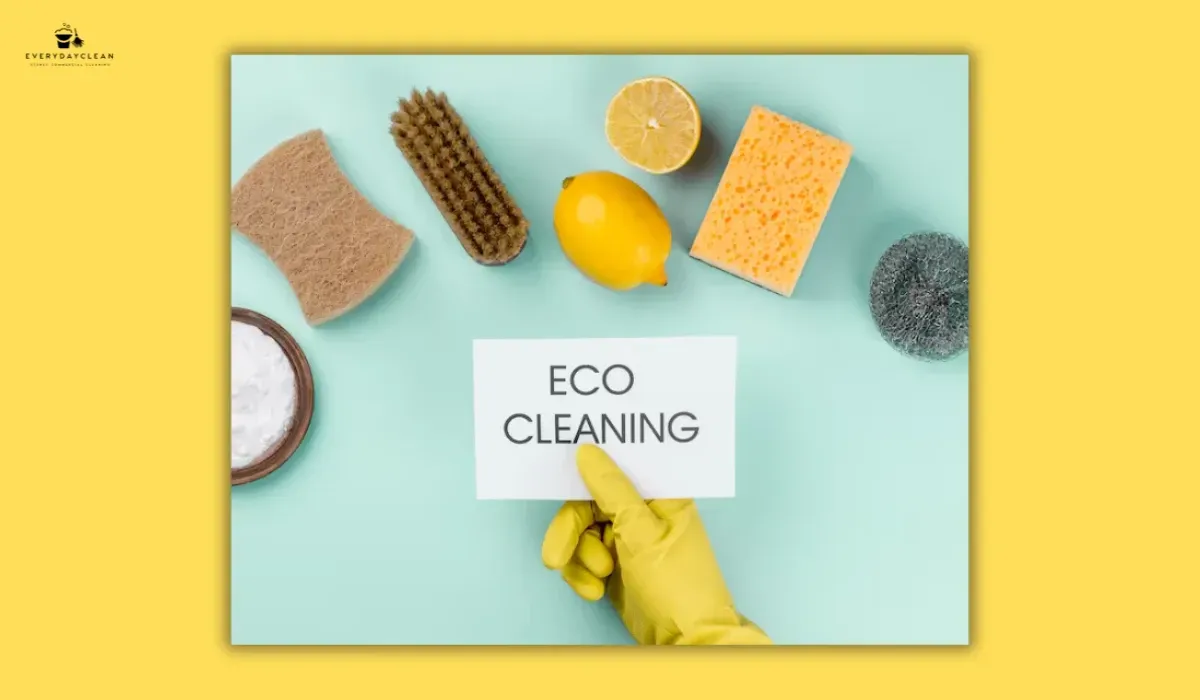
This guide offers a practical, cleaning-focused approach to removing mould from hard surfaces using safe, effective methods. Whether treating wall corners, tile grout, or ceiling spots, these techniques help restore cleanliness and prevent recurrence—without the need for harsh chemicals or expensive treatments.
Is DIY Mould Removal Safe?
In most residential scenarios, DIY mould removal is safe when the mould is minor, localised, and surface-level. Affected areas under one square metre can typically be cleaned using everyday tools and protective equipment. This approach is especially effective for surfaces like tiles, painted plaster, and glass.
However, if the mould covers a large area, recurs frequently, or appears inside porous building materials, professional mould remediation is strongly advised. This ensures safe containment, proper cleaning, and long-term prevention.
Equipment and Materials for Mould Cleaning
Before starting the removal process, prepare your cleaning tools and ensure proper protection. Mould spores can become airborne during scrubbing, so safety measures are essential for effective and hygienic results.
Tools and Supplies Checklist:
- N95 or P2-rated face mask
- Rubber or nitrile gloves
- Safety goggles
- Spray bottle
- Soft scrubbing brush
- Microfibre cloths (disposable or washable)
- Drop sheet or towel (to protect floors)
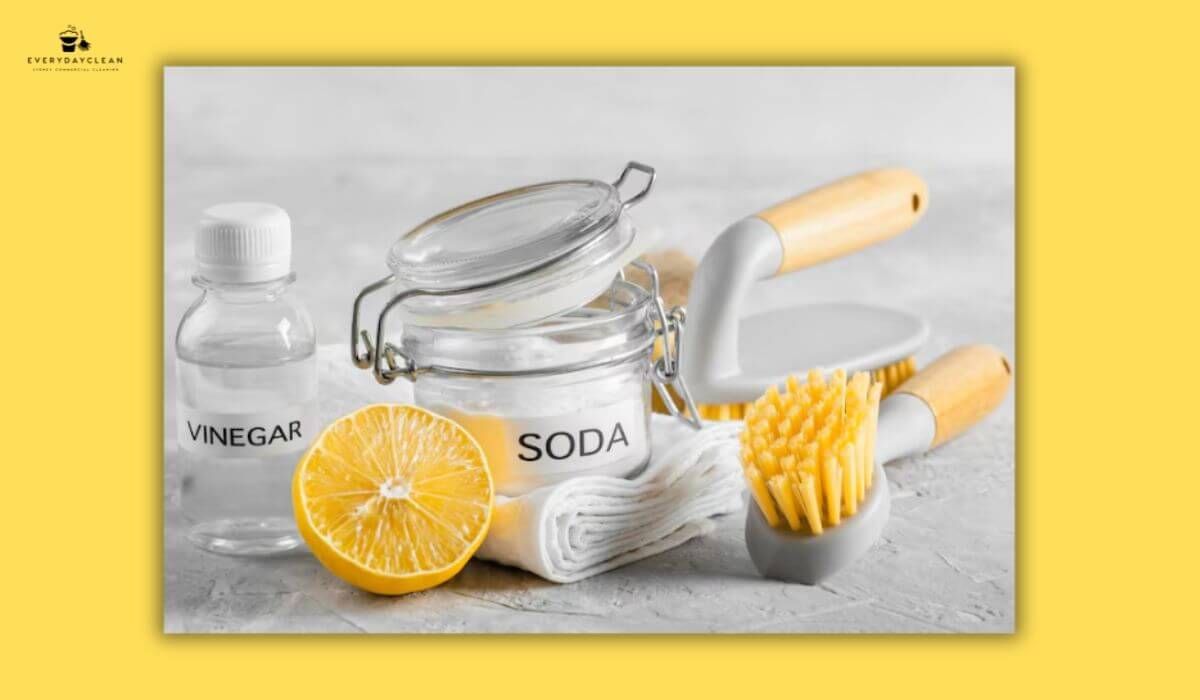
- White vinegar, hydrogen peroxide (3%), or clove oil
- Mop and bucket (if treating floors)
Using this equipment ensures mould can be safely cleaned without spreading spores to other areas.
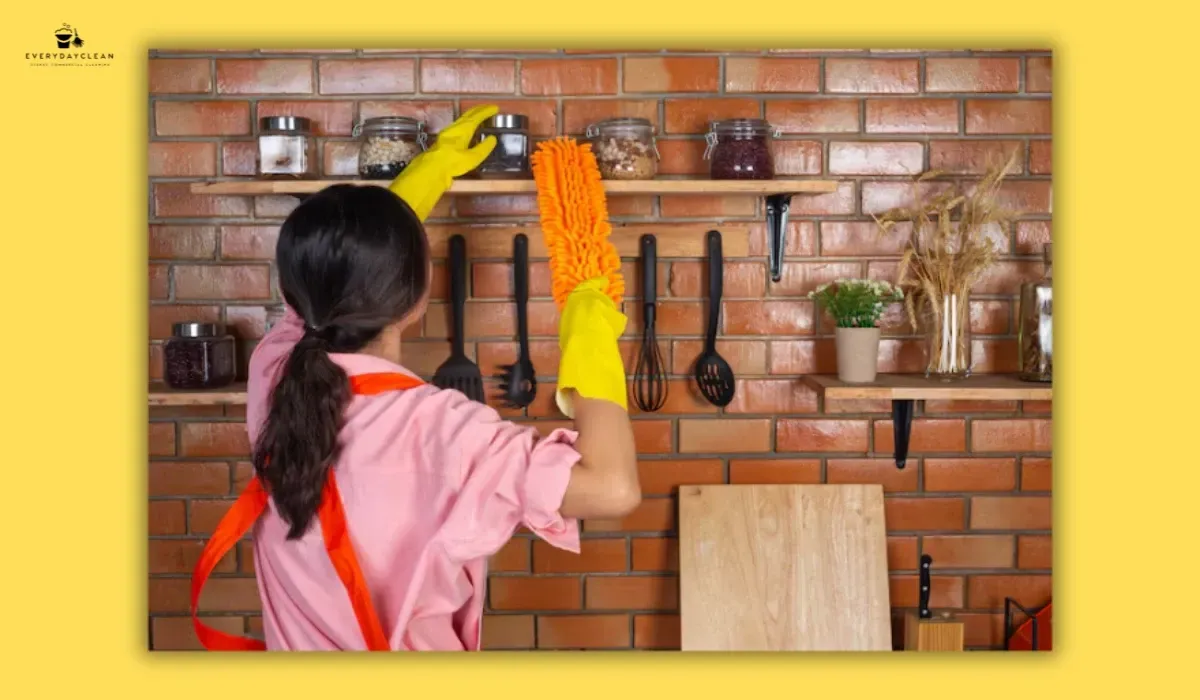
How to Remove Mould Yourself: A Cleaning-Based 5-Step Process
DIY mould removal should always follow a structured process to ensure thorough cleaning and minimal regrowth. The steps below are suitable for wall mould, tile grout, windowsills, and ceiling spots.
Step 1: Ventilate and Prepare the Area
Open windows and doors to promote airflow. Close off the affected room from others and remove soft furnishings nearby. Lay a drop sheet to catch drips or debris.
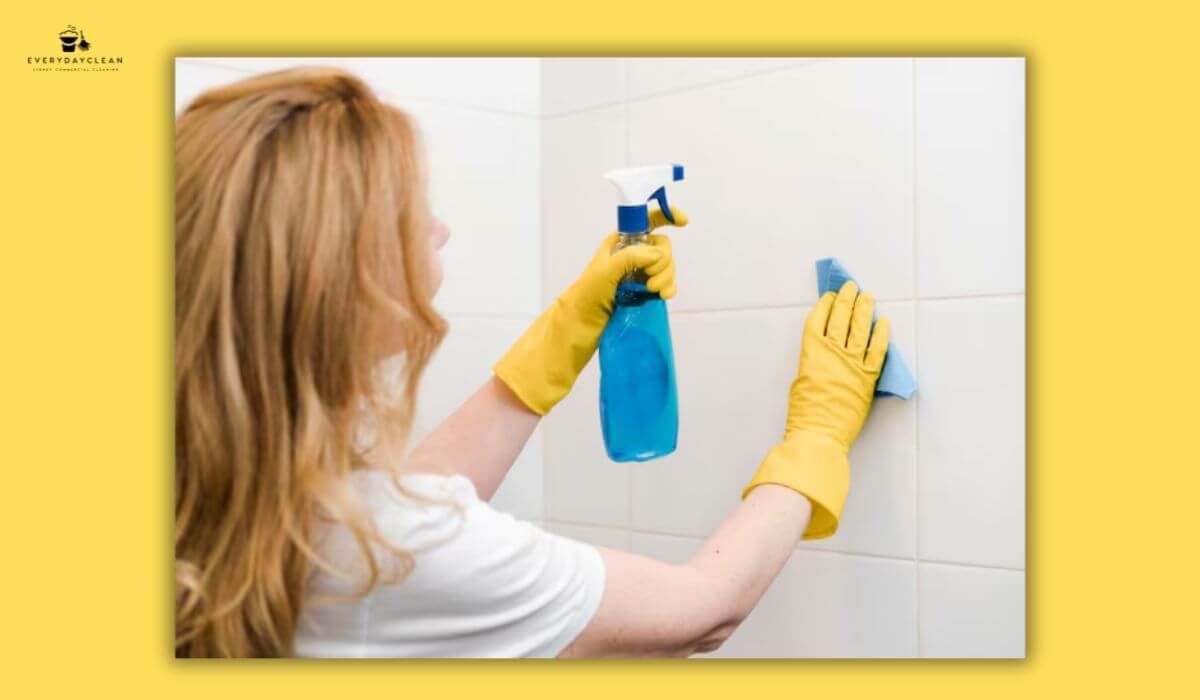
Step 2: Apply a Mould-Targeting Cleaner
Spray the mould with your chosen cleaning solution. White vinegar (undiluted), hydrogen peroxide (3%), or clove oil mixed with water are all effective. Let the solution soak into the mould for at least 10–15 minutes.
Step 3: Scrub the Surface
Use a gentle scrubbing brush or cloth to agitate the surface. On grout lines or stubborn corners, repeat the process with a slightly firmer brush, but avoid damaging wall paint or sealant.
Step 4: Wipe Down and Dry Thoroughly
Use clean water to rinse or wipe the surface if needed. Then dry completely using a towel or microfibre cloth to remove any moisture. This step is crucial in preventing the return of mould.
Step 5: Dispose of Used Materials
Bag up any disposable cloths or gloves and wash your hands thoroughly. Continue airing the room for several hours to allow any remaining spores to clear.
DIY Mould Remover Recipes Using Everyday Ingredients
Homemade mould removal mixtures can be both effective and environmentally friendly. Before applying any solution, test it on a small area to ensure compatibility with the surface.
Here is a summary of common natural cleaning recipes, followed by use cases and safety tips.
White Vinegar Spray
- Use undiluted vinegar in a spray bottle
- Spray directly on the mould and leave for 10–15 minutes
- Ideal for tiles, glass, and bathroom walls
Hydrogen Peroxide Mix
- Combine one part hydrogen peroxide (3%) with one part water
- Effective for bathroom grout and silicone edges
Clove Oil Spray (Preventative)
- Mix 1/4 teaspoon of clove oil with 1 litre of water
- Use as a light mist spray every few weeks on problem areas
These natural formulas are low-toxicity and often favoured in homes with children or pets.
Which Surfaces Can Be Treated With DIY Mould Removal?
Before scrubbing, ensure the surface type can withstand DIY treatments. Below is a guide to help you decide what’s safe to clean and what needs expert handling.
| Surface | DIY Safe? | Cleaning Notes |
|---|---|---|
| Bathroom Tiles | Yes | Best treated with vinegar or peroxide |
| Plasterboard Walls | Yes | Use minimal liquid, avoid over-scrubbing |
| Timber Trims | Yes | Light vinegar mist, dry immediately |
| Fabric Curtains | No | Requires hot wash or professional cleaning |
| Carpet & Upholstery | No | Mould may spread below the surface |
Preventing Mould After Cleaning: Tips That Actually Work
Removing mould is only part of the solution. To keep indoor environments mould-free, it's essential to address the root causes—primarily moisture and poor ventilation.
Implement the following practices to reduce mould recurrence:
- Run exhaust fans in bathrooms, kitchens, and laundries
- Fix leaky pipes, taps, or roof tiles immediately
- Open windows daily to increase cross-ventilation
- Dry down shower walls and mirrors after use
- Use a dehumidifier in high-humidity areas
- Spray white vinegar monthly on grout lines and ceiling corners
Regular cleaning also helps prevent recontamination—especially when you routinely disinfect high-touch surfaces like light switches, door handles, and tapware that often retain moisture or organic residue.
For schools and early learning centres, our Child Care Cleaning services protect children from mould-prone areas while keeping classrooms healthy and safe.
When Should You Call a Professional Cleaning Team?
While DIY mould removal is suitable for small, surface-level growth, there are situations that warrant professional cleaning:
- Mould affects an area larger than 1 square metre
- Reappears within days or weeks after cleaning
- Is embedded in porous materials (e.g. insulation, carpet, wood)
- Spreads across multiple rooms or behind furniture
- Accompanied by a strong, damp odour or signs of water damage
In such cases, professional cleaners—like
Everyday Clean—use commercial-grade solutions, HEPA-filtered vacuums, and moisture control techniques to address the underlying issue, not just the visible mould.
FAQs About DIY Mould Removal
Many Sydney residents have similar concerns when it comes to cleaning mould. Below is a summary of the most common questions.
Can I remove mould from the bathroom ceiling myself?
Yes—if the patch is small and not spreading quickly, ceiling mould can be removed using a ladder, spray bottle, and protective gear. Use vinegar or hydrogen peroxide spray, allow time to sit, and gently scrub. Always ensure the bathroom is well-ventilated before, during, and after the process. Avoid over-wetting plaster ceilings, and wear a proper mask to protect against airborne spores.
What’s the best solution for mould on grout?
For grout lines, a mixture of vinegar and baking soda provides excellent results. Apply the paste along the grout, let it sit for 15–30 minutes, then scrub with a stiff brush. Hydrogen peroxide also works well on discoloured or deep-set mould in grout. Always rinse thoroughly and dry to prevent re-growth.
Is it better to use vinegar or bleach for mould?
Vinegar is generally safer and more effective on porous and semi-porous surfaces. Bleach may kill surface-level mould but won’t reach embedded spores and can damage materials. Vinegar, being mildly acidic, penetrates more deeply and neutralises many types of common household mould.
How can I keep mould away in the long term?
Long-term prevention comes down to moisture control. Install exhaust fans, repair leaks quickly, and ventilate frequently. Use a dehumidifier if your home is in a high-humidity zone. A routine spray of vinegar in areas like shower corners and windowsills can also reduce spore activity.
What happens if mould keeps coming back?
Recurring mould is often a symptom of an underlying issue—poor drainage, hidden leaks, or inadequate airflow. DIY solutions may offer temporary relief, but a professional inspection is advised if mould returns frequently. Everyday Clean can help identify root causes and apply long-term, commercial-grade treatments.
For Reliable Mould Removal in Sydney, Contact Everyday Clean
Tired of cleaning the same patches of mould every few weeks? Let the professionals handle it. Everyday Clean delivers expert mould cleaning solutions that eliminate visible growth and target the source. Our eco-safe, non-toxic methods are ideal for homes, Airbnbs, and commercial properties across Sydney.
Book a mould removal service today and protect your space from re-infestation.
Author: Everyday Clean Content Team
Everyday Clean is Sydney’s trusted provider of commercial cleaning solutions, including pools, gyms, offices, and strata properties. Our licensed professionals use advanced, eco-friendly equipment to deliver safe, compliant, and spotless results. With deep experience across Sydney’s hospitality, fitness, and residential sectors, we help facilities maintain inviting, healthy environments that guests trust.
You might also like
Blog